It’s a new year, a new start and a new sewing room! Here’s a little peek around at what I’ve been doing during my 2 month blogging hiatus. Folding fabrics and getting organized! I’ll show you how I spent a couple afternoons folding fabrics to fit inside 4 different sized cubbies and crates while watching documentaries on Hulu. In my pajamas. (Sigh.) What a wonderful way to spend the day. 🙂
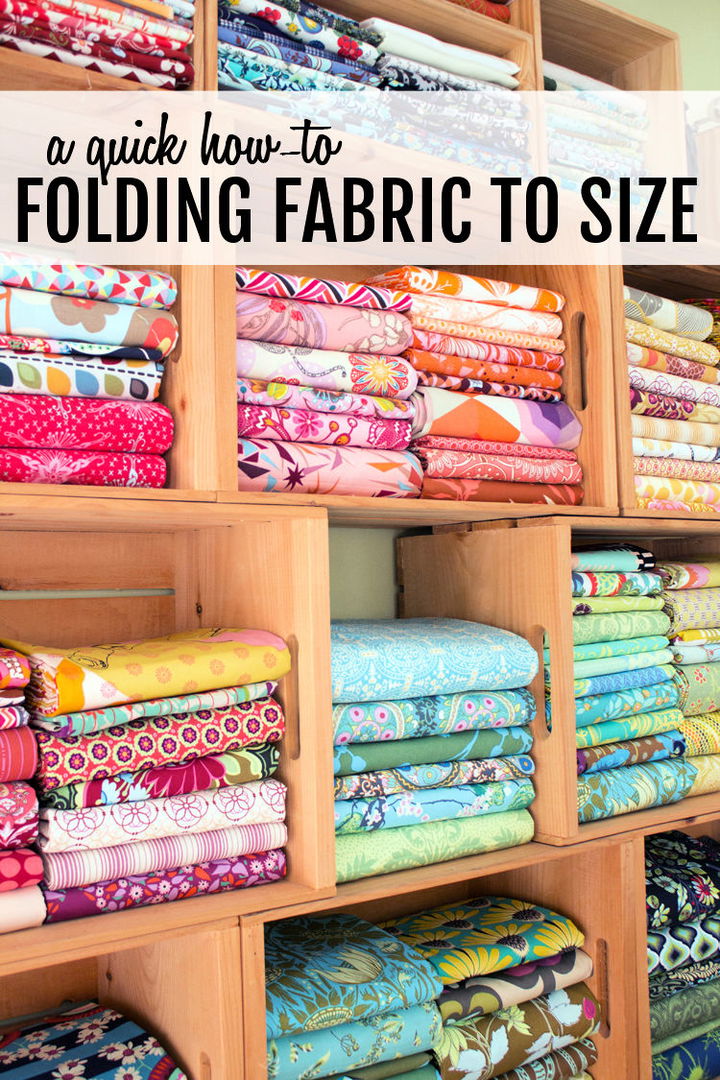
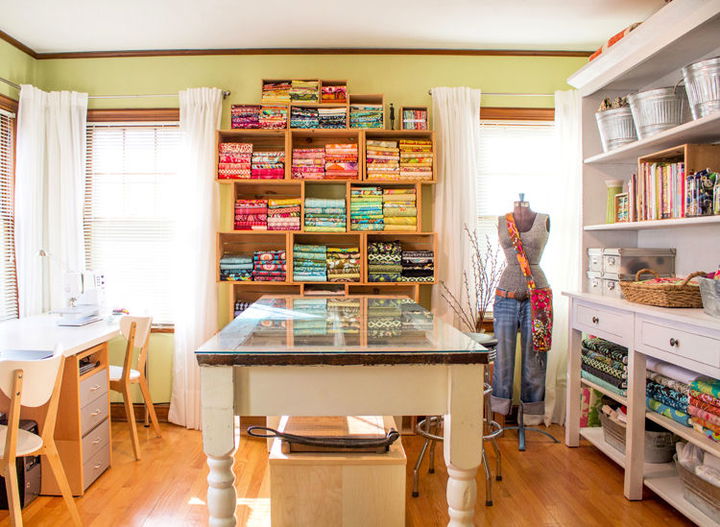
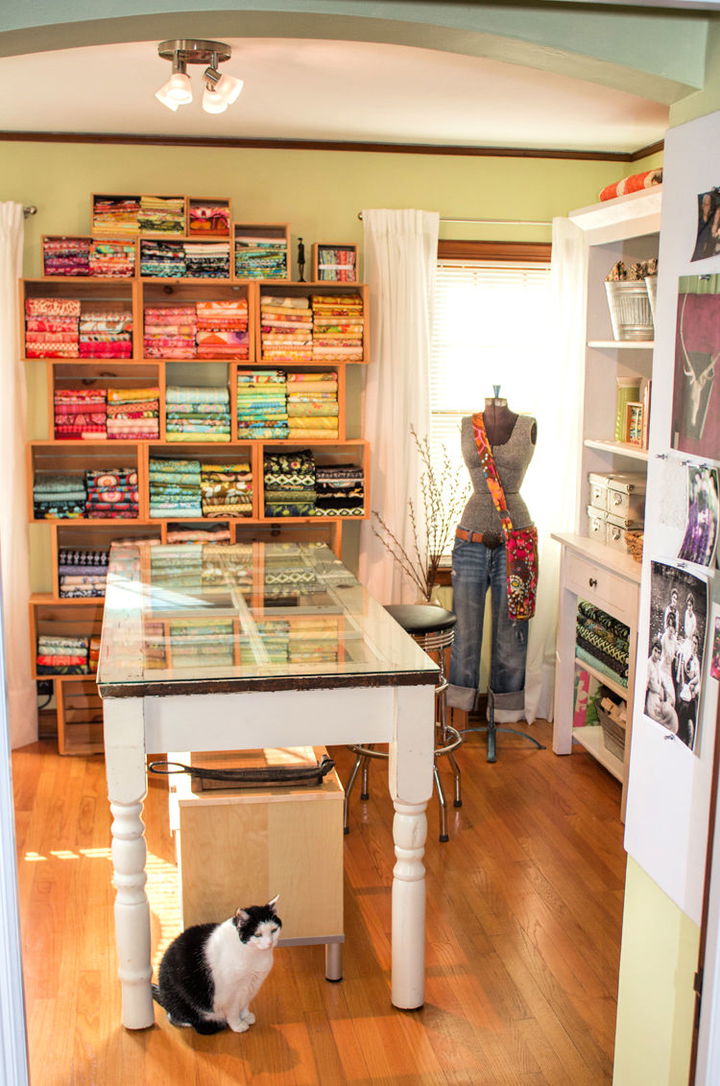
But first, have a peek around my new sewing room. There are more pictures below, after the quick folding how-to.
Folding Fabrics to Size – Start with Your Desired Width
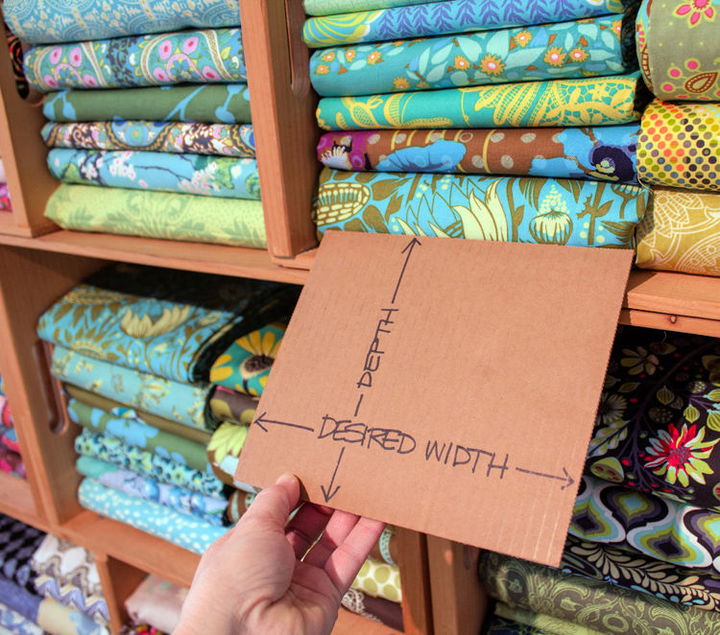
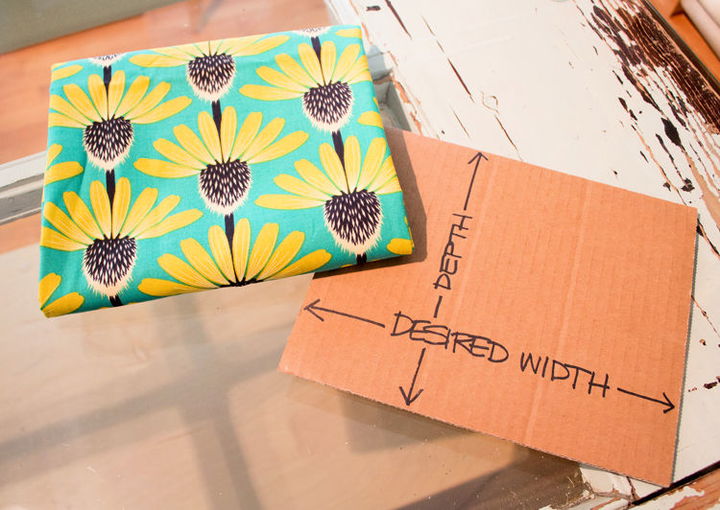
Grab a piece of cardboard and scissors, because you will be making a template similar to the one in the photo above.
First, determine the width you want your fabric stacks, then subtract about ½″ from this to allow about ¼″ leeway on both sides. It’s impossible to fold these fabric stacks exactly to size, so you will want to give yourself a little wiggle room.
Decide Your Depth
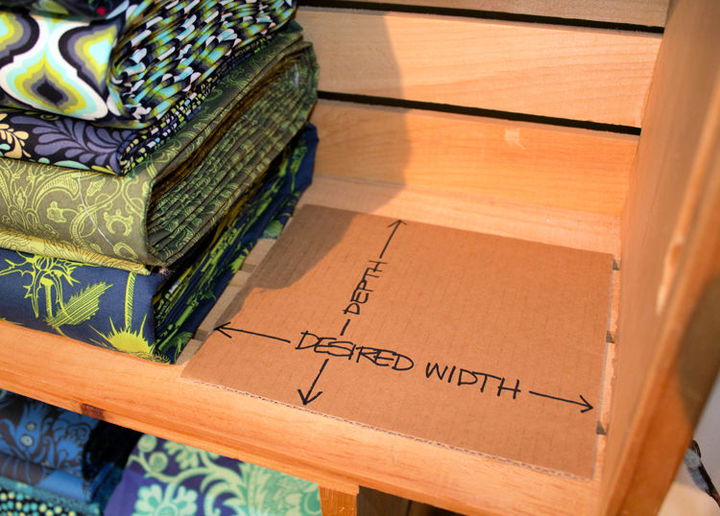
Determine how deep your storage is, then subtract at least an inch or two to determine the size you will cut your cardboard.
The smaller quantities of fabric will be narrower in depth. The larger quantities of fabric will get thicker with each roll, so they will be wider in depth.
This extra inch or two of depth allows the front edges of all the fabrics to be aligned.
So now, cut out your cardboard template and label the width and depth.
Getting Started
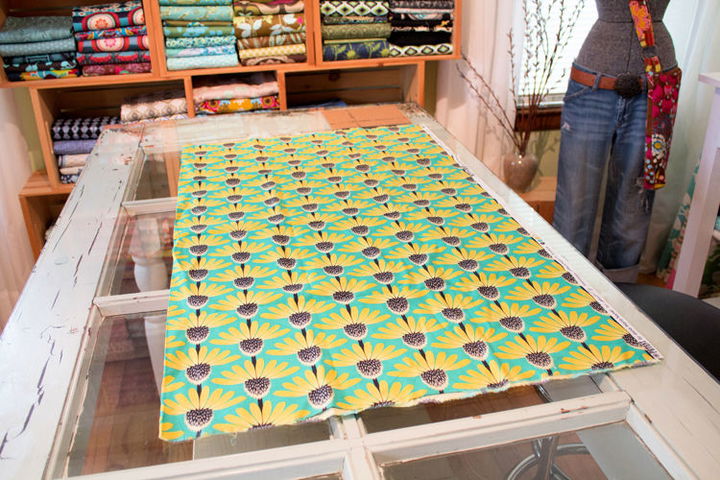
Lay out your fabric as it comes off the bolt
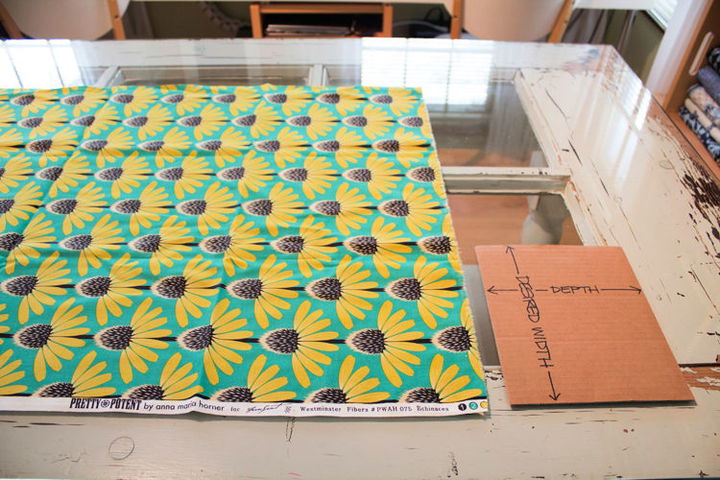
with selvages at the bottom and the fold at the top.
Step 1- Folding Fabric
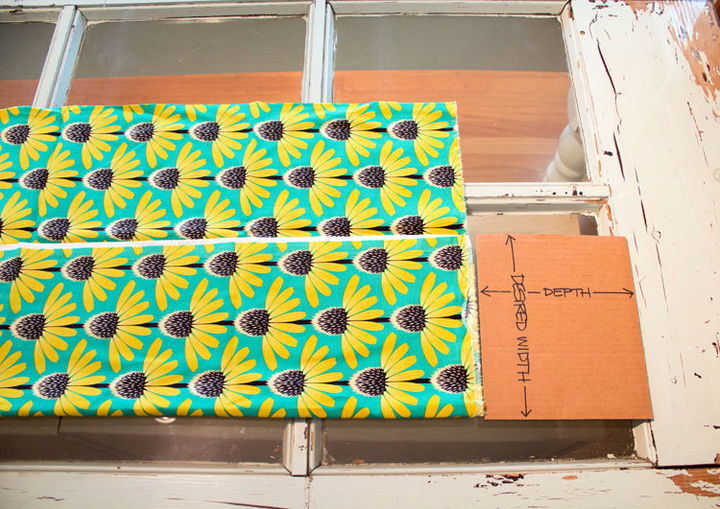
Fold your selvages up to your desired width.
Step 2- Folding Fabric
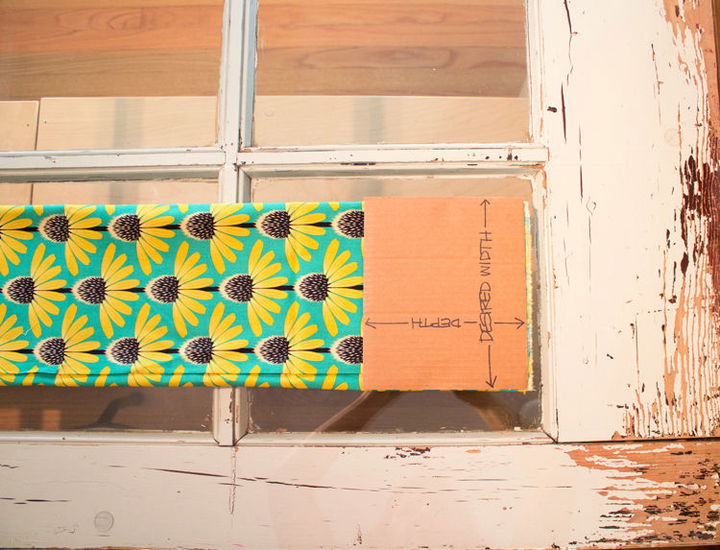
Fold the opposite edge of the fabric down towards the fold just made.
**Don’t worry if it doesn’t meet exactly in thirds like it does in the picture. I used this system for 4 different sized cubbies and was worried that if it didn’t overlap exactly, the stacks would wobble. But they don’t.
Lay your cardboard on the short edge of the fabric and begin to roll.
If your fabric is really long, stick a chair with a high back at the end of the table to help hold the rest of the fabric.
Step 3 -Rolling the Fabric
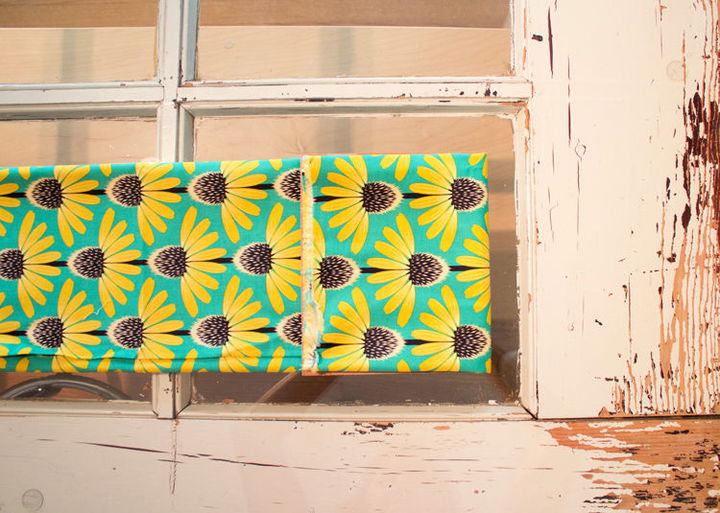
Keep the cardboard inside and continue to roll the fabric – keeping the outer folded edges aligned as you roll.
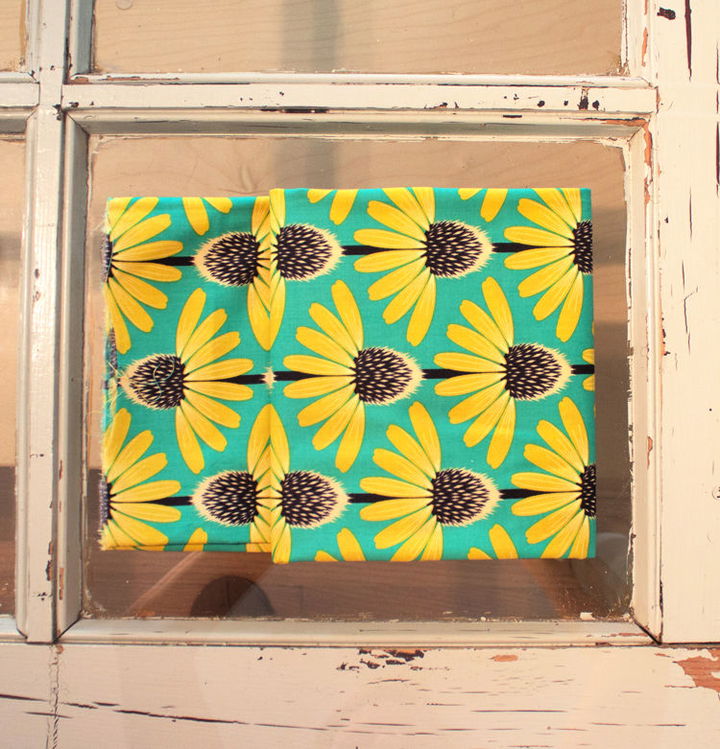
Keep rolling to the end.
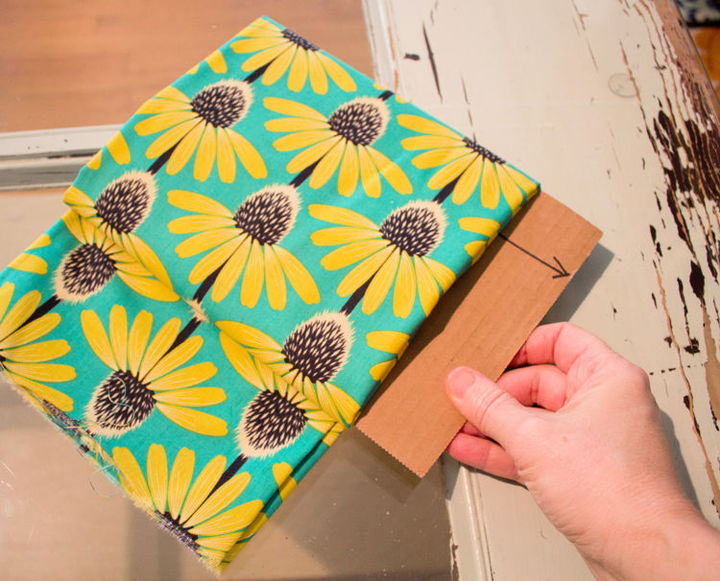
When you come to the end, pull out the cardboard.
Fold under the extra fabric and make sure this loose end of the fabric is facing the back of your storage.
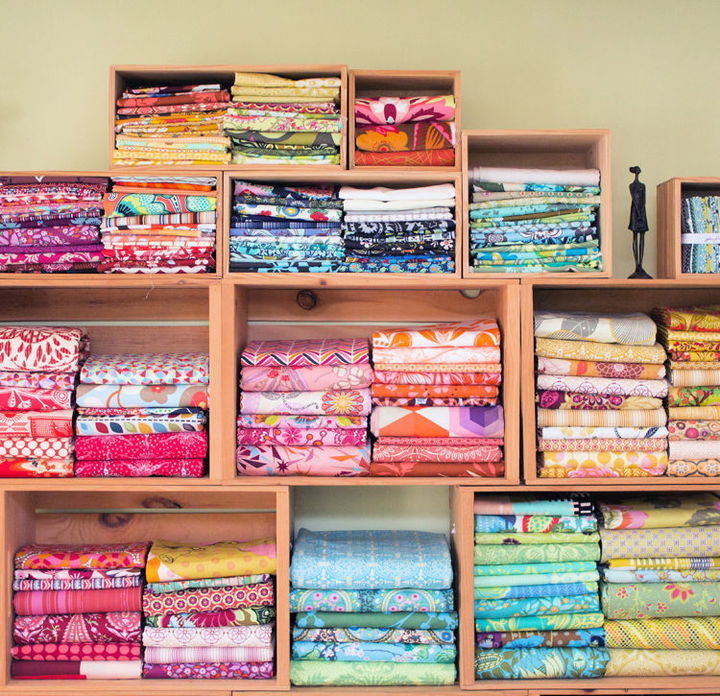
Here is a better picture showing the 4 different sized crates and cubbies I used to store fabric.
I purchased the large rectangular crates about 12 years ago, but I can’t remember the name of the company now. (Sorry!) I have seen these same crates at Home Depot in the past few years, but usually only around back-to-school time. The smaller maple cubbies were from Darice and I purchased those about 12 years ago too, I think from Michaels.
If anyone is interested in seeing a how-to video for folding fabrics, please leave a comment. If there is enough interest, I just might figure out how to use the video setting on my camera!
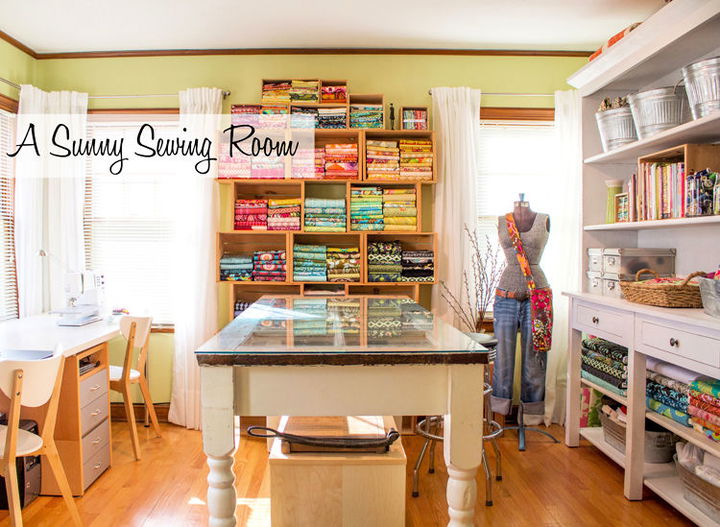
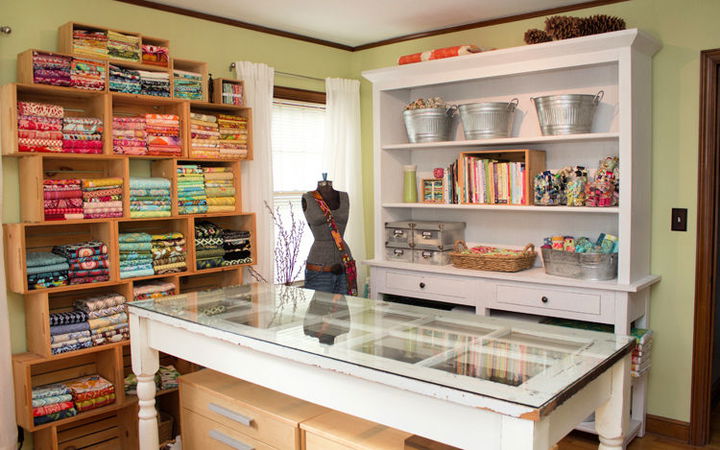
And here are a few more pictures of my sewing/craft room. One rule I set for myself after closing my store was that I was to buy NOTHING NEW. With a store full of fixtures and displays to get rid of, there was no way I was going to purchase something new just for home. So if you were a customer of Urban Arts + Crafts in Kansas City, some of these displays may look very familiar to you!
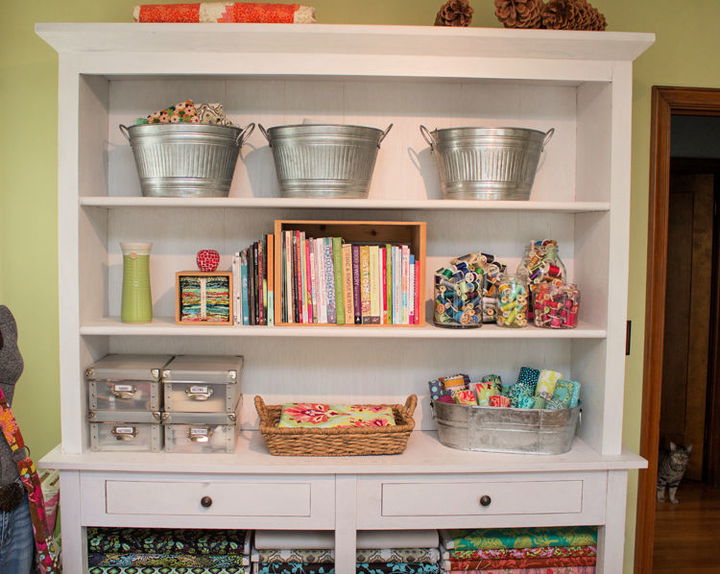
The white hutch on the above right was a Kolo photo display. My husband made the table in the center. The top is a french door with a piece of glass over the door for the top. The sewing and computer counter on the left was a 30″ wide door we special ordered from Home Depot, painted and added legs to. The drawers on the left we purchased from Scandinavian Designs about 15 years ago and help support the counter top.
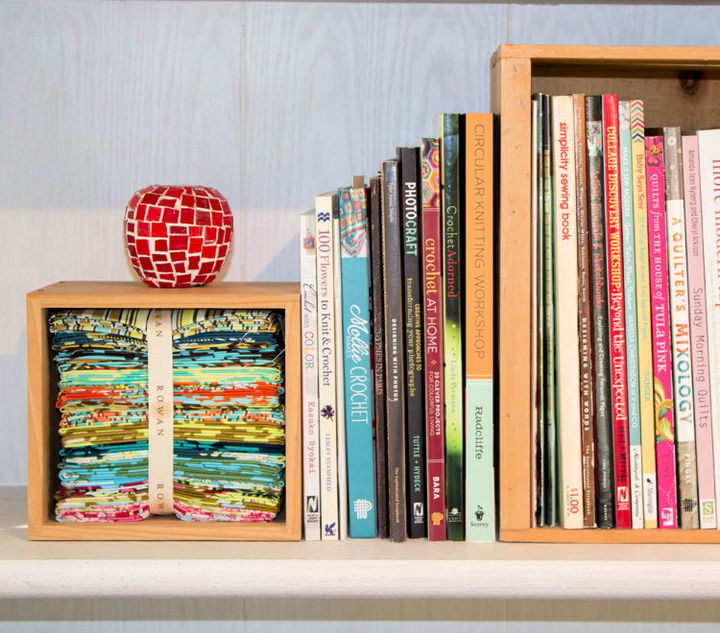
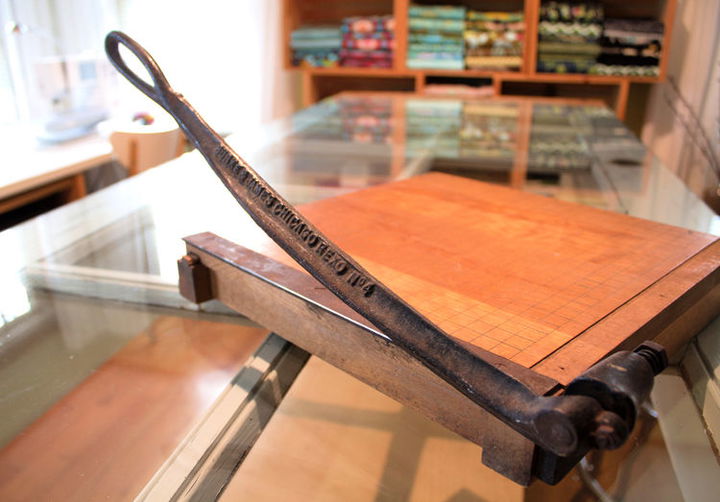
My favorite tool in the room. Burke and James vintage paper cutter. No safety latches. No plastic finger protectors. But man does this baby cut.
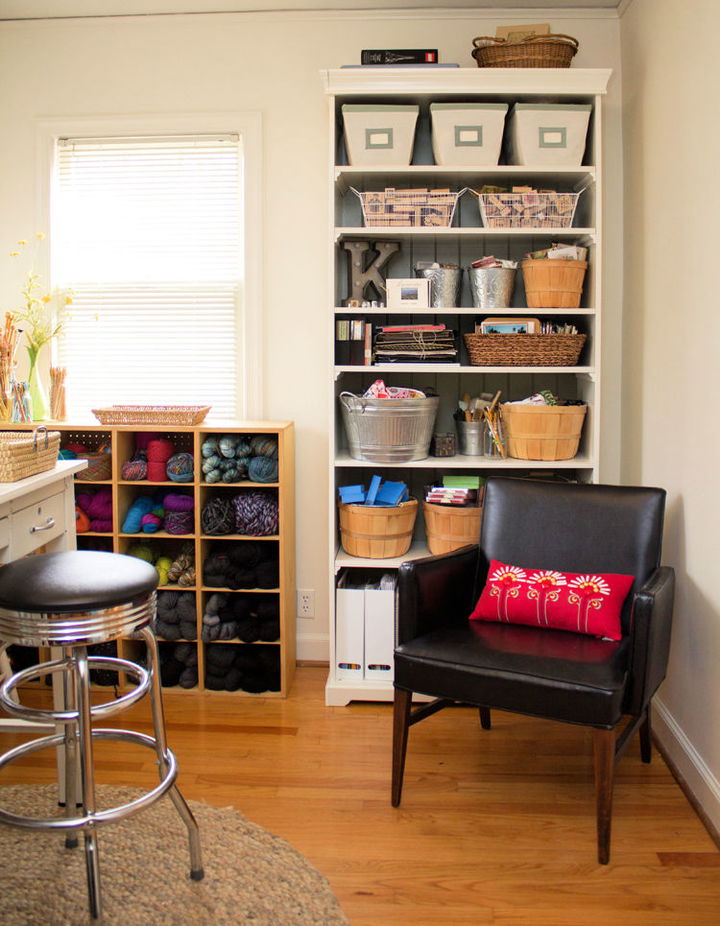
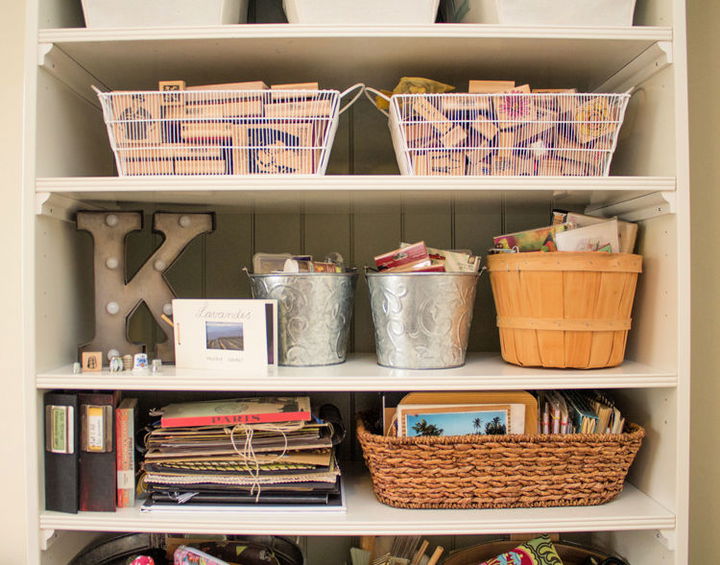
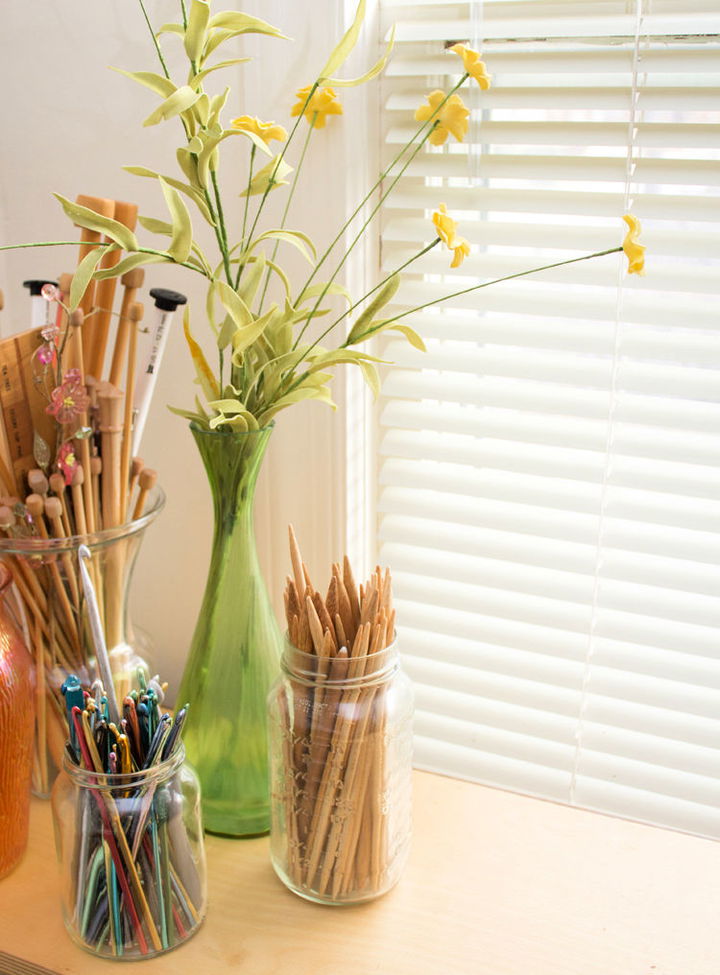
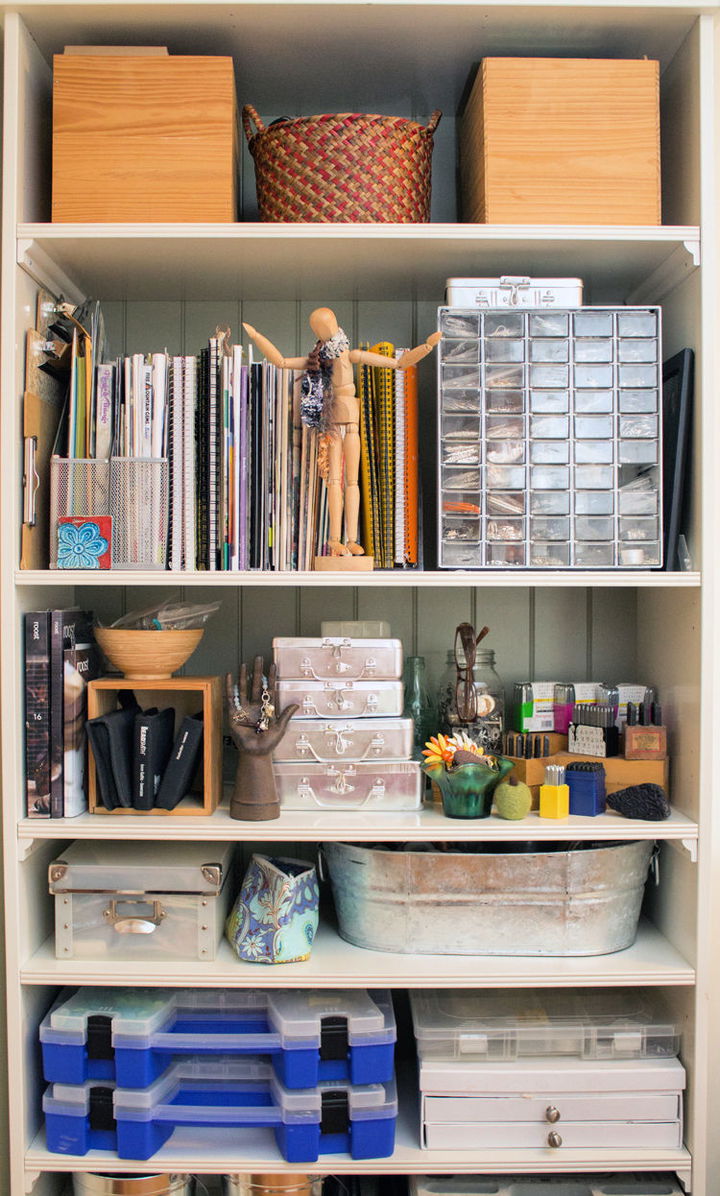
Our house is a tudor style brick home built in 1932. One of its unusual features is this little room. The larger sewing room was actually the master bedroom and this little room is connected to the master bedroom with a doorway to serve as a nursery. The room is very narrow, but works great for an office or baby room. So this room holds my jewelry making, knitting and collage supplies.
Hope you enjoyed the tour! Happy sewing or should I say…happy folding!

