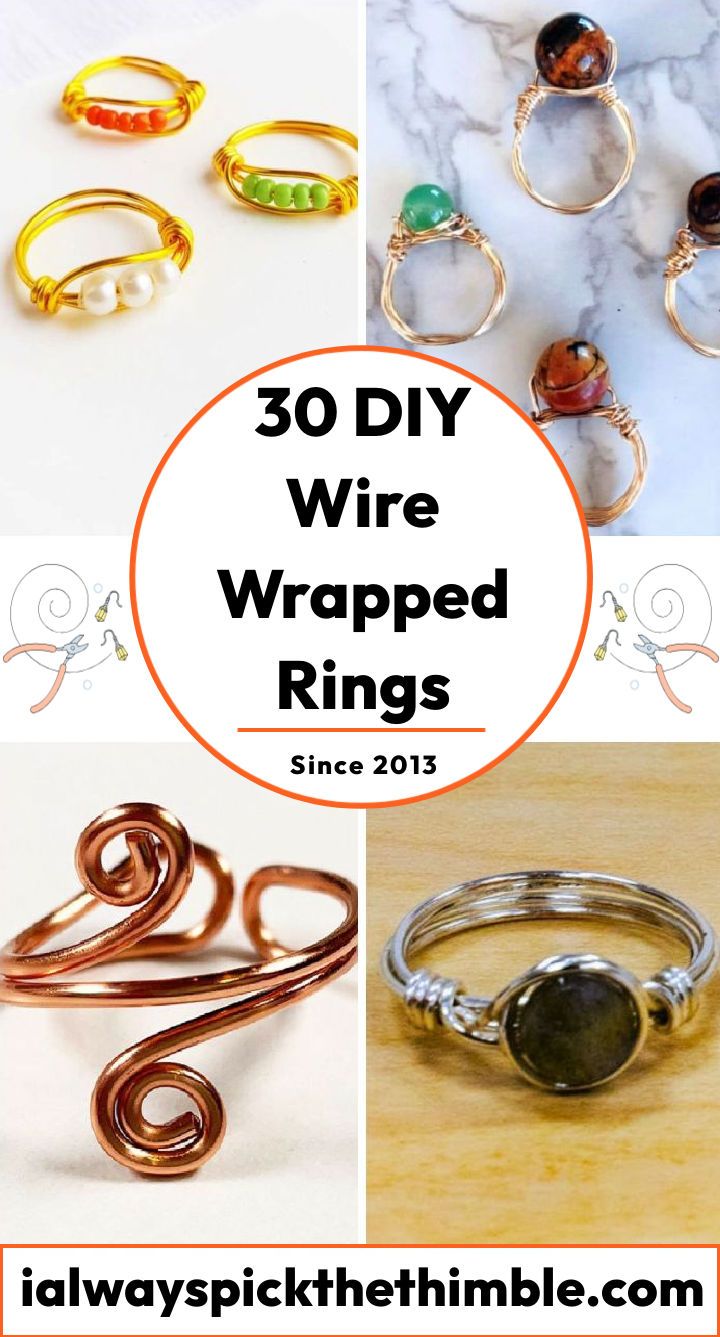
You can make amazing DIY wire wrapped rings with the help of this guide. It shows you how to turn simple wires into stunning, custom rings with 30 different DIY wire wrapped ring tutorials. You’ll discover wire wrap ring ideas in various styles, from simple and sleek to intricate and detailed designs. Each wire wrap ring tutorial comes with step-by-step instructions.
These tutorials include many wire ring ideas, such as wire rings decorated with seed beads, rings with gemstones, or even designs featuring leather tassels for a cool touch. If you’re new to wire wrapping, start with a simple wire wrapped ring to learn the basics. More experienced wire wrappers might like designs like the wire wrapped rose ring, perfect for Valentine’s Day, or the adjustable wire wrap ring pattern that fits any finger size.
These DIY wire ring tutorials cater to various tastes and skill levels, offering a complete guide for anyone who wants to explore the craft of handmade wire wrapped rings. Materials and supplies are listed for each pattern, and clear visual illustrations accompany the detailed instructions. It’s a great chance to create beautiful and unique wire rings, so get your wire and tools and start making your own DIY wire wrapped rings today!
What is Wire Wrapping and Why You Should Try It
Wire wrapping is a technique of making jewelry by twisting, bending, and wrapping metal wire around beads, stones, or other components. The wire wrapping is one of the oldest forms of jewelry making, dating back to ancient times. Wire wrapping is also a very versatile and creative way of making your own unique rings, earrings, bracelets, necklaces, and more.
Some of the benefits of wire wrapping are:
- You don’t need any soldering or glue to join the wire pieces together.
- You can use any type of wire you like, from copper to silver to gold-filled.
- You can create any shape or design you can imagine with wire.
- You can customize your rings with different colors, sizes, and shapes of beads or stones.
- You can make wire wrapped rings for yourself or as gifts for your friends and family.
If you are looking for a fun and easy hobby that lets you express your creativity and personality, wire wrapping is for you!
How to Choose the Right Wire and Tools for Your Rings
Before you start making your wire wrapped rings, you need to have some basic tools and materials. The most important thing is the wire itself. There are many types of wire available in the market, but not all of them are suitable for wire wrapping. Here are some factors to consider when choosing your wire:
- Gauge: This is the thickness of the wire. The higher the gauge number, the thinner the wire. For example, 18 gauge wire is thicker than 24 gauge wire. The gauge of the wire affects how easy it is to bend and wrap, as well as how sturdy and durable your ring will be. Generally, you want to use a thicker gauge for the base or frame of your ring, and a thinner gauge for the wrapping or embellishment. A good range to start with is 18 to 24 gauge.
- Hardness: This is how stiff or flexible the wire is. The hardness of the wire depends on how it is processed by the manufacturer. There are three main categories of hardness: dead soft, half hard, and full hard. Dead soft wire is very easy to bend and shape, but it may not hold its form well. Half hard wire is moderately stiff and holds its shape better than dead soft wire. Full hard wire is very rigid and difficult to bend, but it is very strong and durable. For wire wrapping, you want to use dead soft or half hard wire, depending on your preference and design.
- Material: This is what the wire is made of. There are many options to choose from, such as copper, brass, bronze, silver, gold-filled, sterling silver, etc. The material of the wire affects its color, shine, tarnish resistance, and price. Copper is a popular choice for beginners because it is cheap, easy to work with, and comes in many colors. Silver and gold-filled wires are more expensive but have a higher quality and luster. Sterling silver is a type of silver that contains 92.5% pure silver and 7.5% other metals. It has a bright white color and tarnishes less than pure silver.
Besides the wire, you also need some basic tools to make your wire wrapped rings. These are:
- Wire cutters: These are used to cut the wire to the desired length. You want to use sharp and flush cutters that make clean cuts without leaving any burrs or nicks on the wire ends.
- Round nose pliers: These are used to make loops and curves in the wire. They have tapered jaws that are round in shape.
- Chain nose pliers: These are used to grip and bend the wire at angles. They have flat jaws that are narrow at the tip.
- Flat nose pliers: These are used to flatten and straighten the wire. They have wide jaws that are flat in shape.
- Ring mandrel: This is a metal or wooden rod that has markings for different ring sizes. It is used to shape and size your ring.
- Ring sizer: This is a tool that measures your finger size or an existing ring size. It helps you determine what size ring mandrel to use.
With these tools and materials ready, you are all set to make your first wire wrapped ring!
Wire Wrapping Basics: How to Make Simple and Elegant Rings
Now that you have learned about the different types of wire and tools for wire wrapping, let’s get started with some simple and elegant ring designs. These rings are easy to make even for beginners, but they look stunning and professional.
Simple Wire Wrapped Ring
This ring design uses only one piece of 20 gauge half hard copper wire (about 10 inches long) and no beads or stones.
- Wrap one end of the wire around a ring mandrel at your desired size (for example, size 7). Leave about 2 inches of tail on one side and 8 inches on the other side.
- Slide the wire off the mandrel and cross the two tails over each other at the top of the ring.
- Use your chain nose pliers to bend the shorter tail at a 90 degree angle, then wrap it around the longer tail two or three times. Cut off the excess wire and tuck in the end with your flat nose pliers.
- Use your round nose pliers to make a loop at the end of the longer tail, then wrap it around the ring band until you reach the other side. Cut off the excess wire and tuck in the end with your flat nose pliers.
- Use your flat nose pliers to adjust and flatten the wire wraps as needed.
- Slide the ring back on the mandrel and gently hammer it with a rubber mallet to harden and shape it.
You have just made a simple wire wrapped ring!
Beaded Wire Wrapped Ring
This ring design uses one piece of 20 gauge half hard copper wire (about 12 inches long) and one bead or stone of your choice (about 6 mm in diameter).
- Wrap one end of the wire around a ring mandrel at your desired size (for example, size 7). Leave about 2 inches of tail on one side and 10 inches on the other side.
- Slide the wire off the mandrel and cross the two tails over each other at the top of the ring.
- Use your chain nose pliers to bend both tails at a 90 degree angle, then thread your bead or stone onto both wires.
- Use your chain nose pliers to bend both wires again at a 90 degree angle on the other side of the bead or stone, then cross them over each other again.
- Repeat steps 3 and 4 to wrap both wires around the bead or stone until you have four wraps on each side.
- Use your chain nose pliers to bend one of the wires at a 90 degree angle, then wrap it around the other wire two or three times. Cut off the excess wire and tuck in the end with your flat nose pliers.
- Use your round nose pliers to make a loop at the end of the other wire, then wrap it around the ring band until you reach the other side. Cut off the excess wire and tuck in the end with your flat nose pliers.
- Use your flat nose pliers to adjust and flatten the wire wraps as needed.
- Slide the ring back on the mandrel and gently hammer it with a rubber mallet to harden and shape it.
You have just made a beaded wire wrapped ring!
Tips and Tricks to Improve Your Wire Wrapping Skills
Wire wrapping is a fun and rewarding hobby, but it can also be challenging and frustrating at times. Here are some tips and tricks to help you improve your wire wrapping skills and avoid common mistakes:
- Practice makes perfect: The more you practice, the more confident and skilled you will become. Don’t be afraid to experiment with different wires, tools, beads, stones, and designs. Learn from your mistakes and try again until you are satisfied with your results.
- Plan ahead: Before you start wrapping, have a clear idea of what you want to make and how you want to make it. Sketch out your design on paper or use online tools like Pinterest or Instagram to get inspiration from other wire wrappers. Gather all your materials and tools beforehand so you don’t have to stop in the middle of wrapping.
- Measure twice, cut once: When cutting your wire, always measure twice and cut once. You don’t want to waste any wire or end up with too little or too much wire for your project. Use a ruler or a tape measure to measure your wire accurately.
- Work in sections: When wrapping your wire, work in small sections rather than trying to wrap everything at once. This will help you control your tension, avoid kinks and tangles, and create neat and even wraps. You can also use masking tape or painter’s tape to hold your wire in place while you work on another section.
- Keep it clean: When working with wire, especially silver or copper, it is important to keep it clean and shiny. Wire can get dirty, tarnished, or oxidized over time due to exposure to air, moisture, or chemicals. To prevent this, store your wire in a ziplock bag or an airtight container when not in use. To clean your wire, use a soft cloth or a polishing pad to gently rub off any dirt or tarnish. You can also use a mild soap or vinegar solution to soak your wire for a few minutes, then rinse and dry it thoroughly.
- Have fun: The most important tip is to have fun with wire wrapping! Wire wrapping is a creative outlet that allows you to express yourself and make beautiful jewelry that you can wear or share with others. Enjoy the process and be proud of your creations!
1. Making Your Own Seed Bead Wire Wrapped Rings
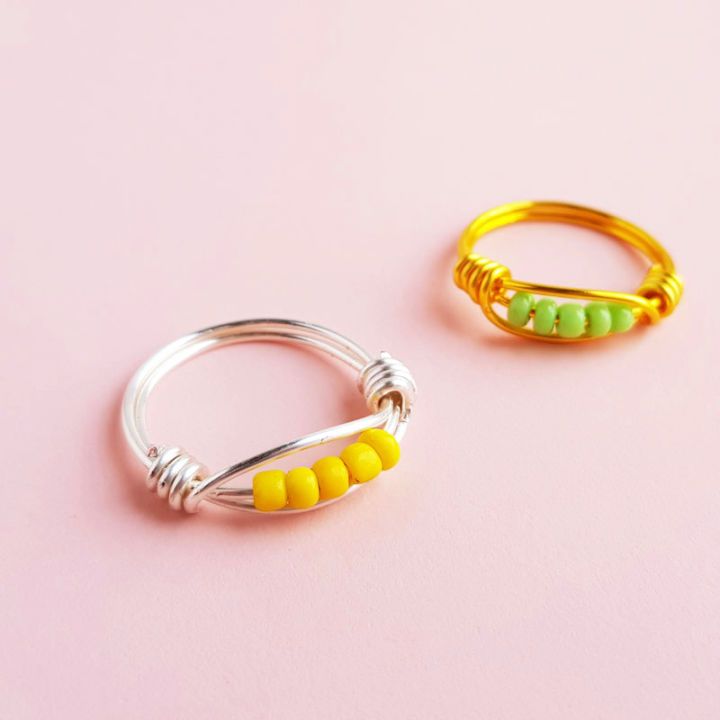
Craft a unique piece of jewelry with this wire wrapped ring tutorial! Make a personalized look with different small beads and 18 gauge wire. Stack multiple rings to make an eye-catching design, or wear just one for a minimalist aesthetic. You’ll need jewelry pliers, seed beads, and a ring mandrel to get started – the perfect cost-effective project for all levels of beading enthusiasts. With this simple yet stylish DIY craft, you can make your stunning wire wrapped jewelry on a budget. momsandcrafters
2. DIY Wire Wrapped Stone Rings
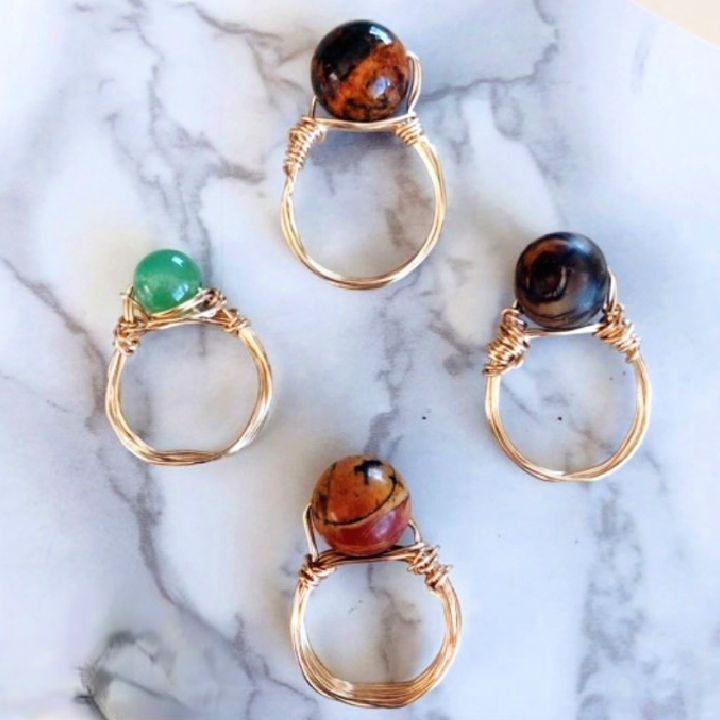
Make beautiful DIY wire wrapped rings with this easy step-by-step guide. Add your favorite stones in different sizes and colors to make one-of-a-kind pieces that make great gifts! You only need a ring sizer mandrel, jewelry pliers, 18 – 22 gauge brass jewelry wire, and stone beads. These simple steps will help even the beginner make stunning jewelry effortlessly in your home! creativefashion
3. Make Wire Wrapped Rings With Step by Step Instructions
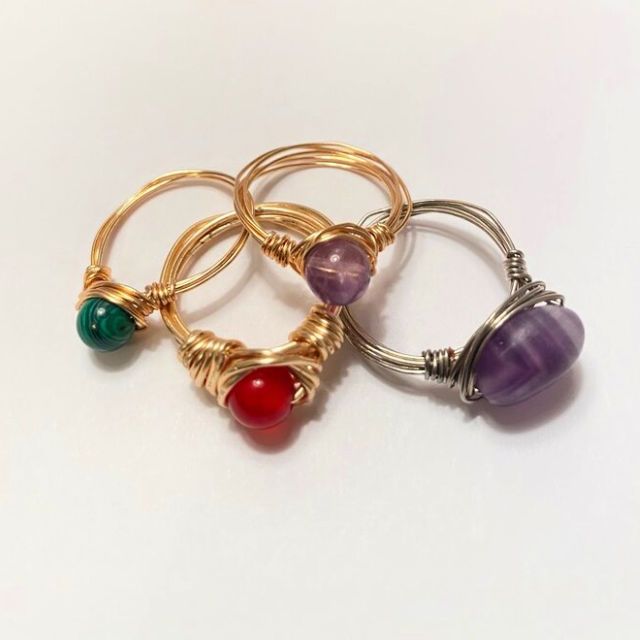
Unlock your hidden jewelry-making skills and craft beautiful wire wrapped rings from the comfort of your home! All you need is 20 gauge wire in any color, small beads, and a cylinder to wrap the wire around. With these materials, you can craft one-of-a-kind rings that are an easy way to show off your style.
To get started, select your favorite colors and beads from endless options – whether you choose pretty glass or ceramic beads for a classic look or polished stones and crystals for something more modern. So why not give it a go? Make beautiful custom pieces that will turn heads with DIY wire wrapped rings today! thetrevordragon
4. Clean and Simple DIY Wire Wrapped Ring
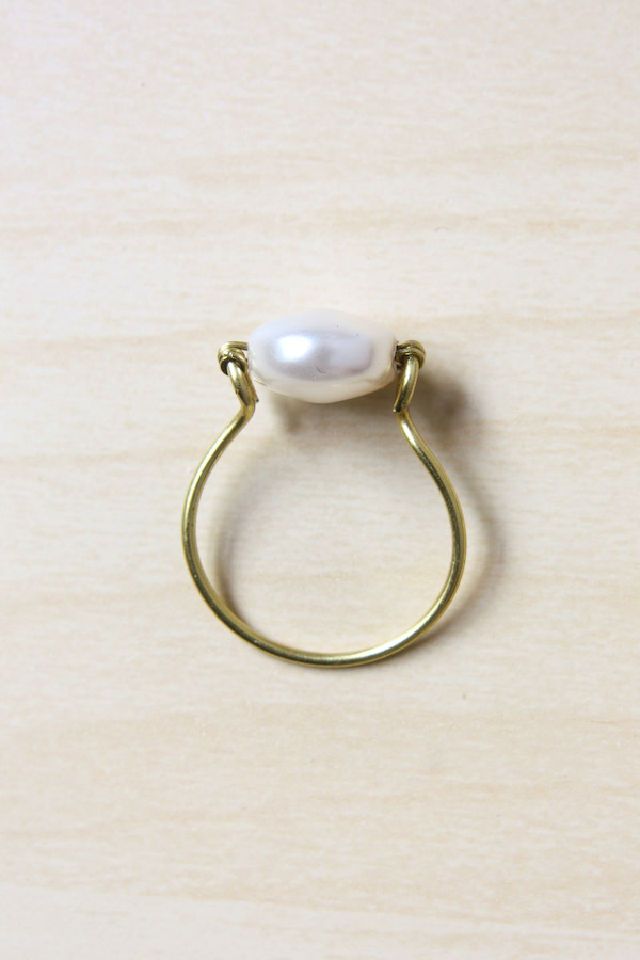
DIY your stunning jewelry piece with this wire wrapped ring! This easy-to-follow tutorial will show you how to craft a beautiful ring using 1mm thick wire for the main structure and 0.4mm thin wire for the wrapping. The highlight of the design is a 10mm Swarovski coin pearl in white that will bring sparkle and shine to your finished product. All you need are two pairs of pliers: a round nose and chain nose, plus basic tools found in any jewelry-making kit. Follow this simple guide and make your unique, one-of-a-kind wire wrapped ring today! makeandfable
5. Handmade Wire Wrapped Bead Rings
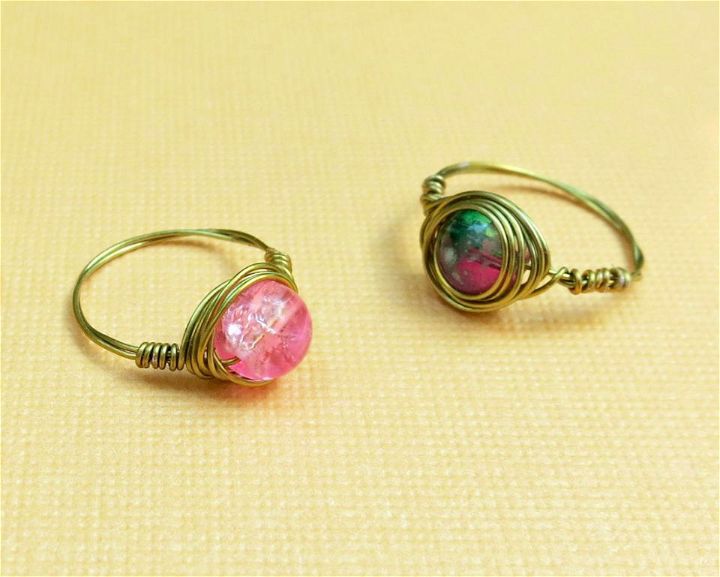
Are you looking for an easy yet elegant DIY jewelry project? Look no further! This simple wire wrapped bead ring tutorial will show you how to quickly make beautiful rings with beads and artistic wire 20 gauge. Perfect as a last-minute gift or group project for tweens and teens, these rings are addicting and so much fun to craft. Get your ring sizer ready and learn this awesome technique today! morenascorner
6. Wire Wrapped Rings With Gemstone
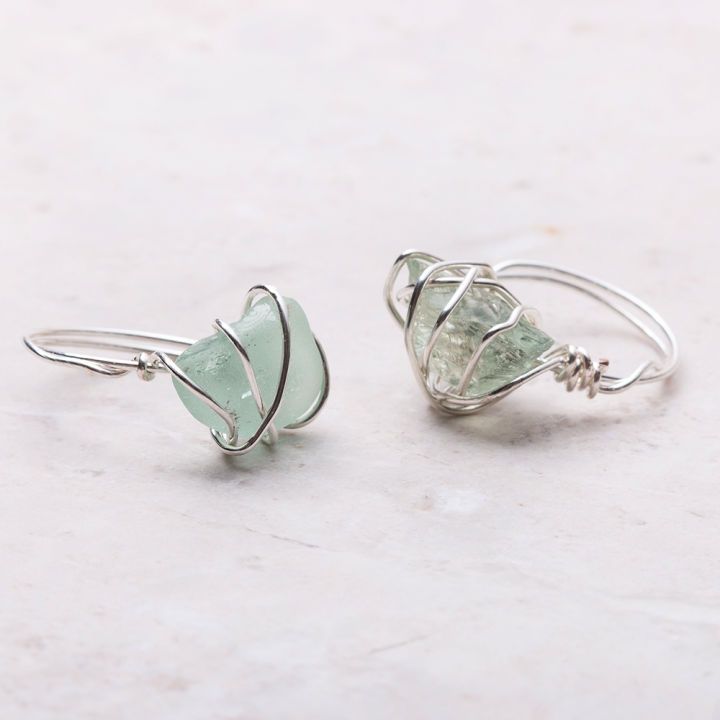
Make a beautiful and unique wire wrapped gemstone ring with this step-by-step tutorial. All you need is 40cm of 0.8mm sterling silver round wire, a rough gemstone of your choice, side cutters, triblet, flat nose pliers, and snipe nose pliers. With no soldering and just a few tools, you’ll have created your stunning ring in no time! Make eye-catching pieces today with this simple guide – perfect for jewelry lovers everywhere. kernowcraft
7. Wire Wrap Stacking Ring With Bead Dangles
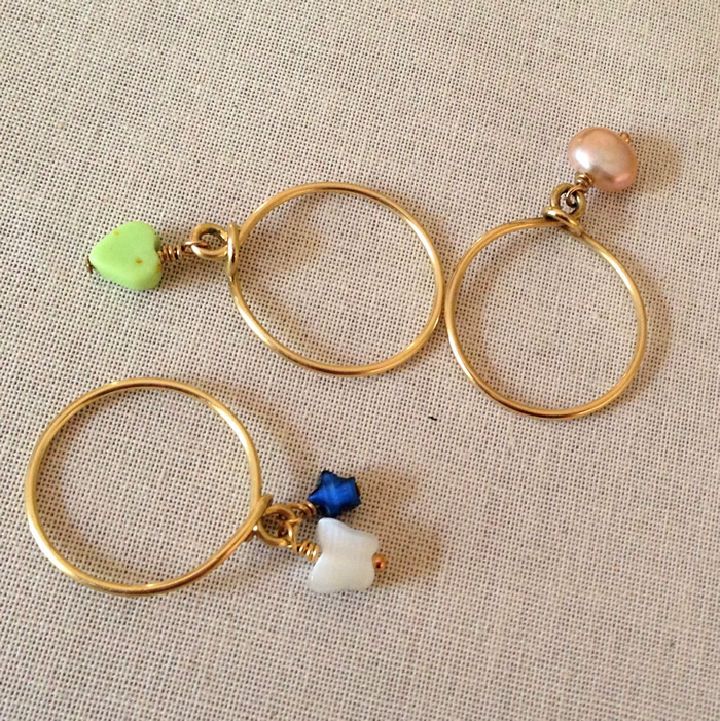
Add a touch of sparkle and shine to your look with this one-of-a-kind wire wrap stacking ring! This DIY jewelry project is simple and requires only a few materials – 4 or 5 inches of round wire and one bead & headpin or ball pin per dangle. Add a special touch using colored beads like turquoise for that extra sparkle. Once finished, the stacked rings will look great or be worn together as part of a set. Get creative with this easy-to-follow guide and make your beautiful handmade stackable rings today! lisayangjewelry
8. Adorable DIY Beaded Wire Wrapped Ring
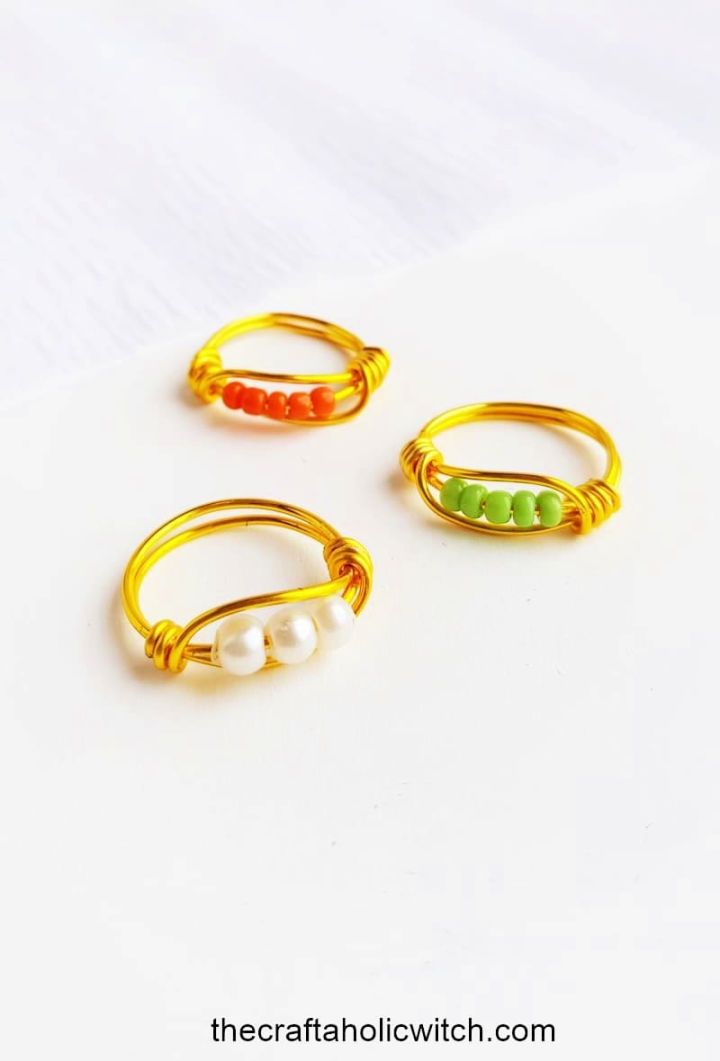
Design a stylish beaded wire ring with this easy 6-step tutorial! Whether you’re looking for an everyday jewelry or to make a special gift for someone, this DIY project is perfect. You only need seed beads, craft wire, and pliers, and you can make an impressive handmade piece. Take some time to get creative – it’s worth the effort! With this step-by-step guide, anyone can make their beaded wire ring quickly. So don’t wait – start making your unique accessory today! thecraftaholicwitch
9. Make a Wire Wrapped Ring With Leather Tassel
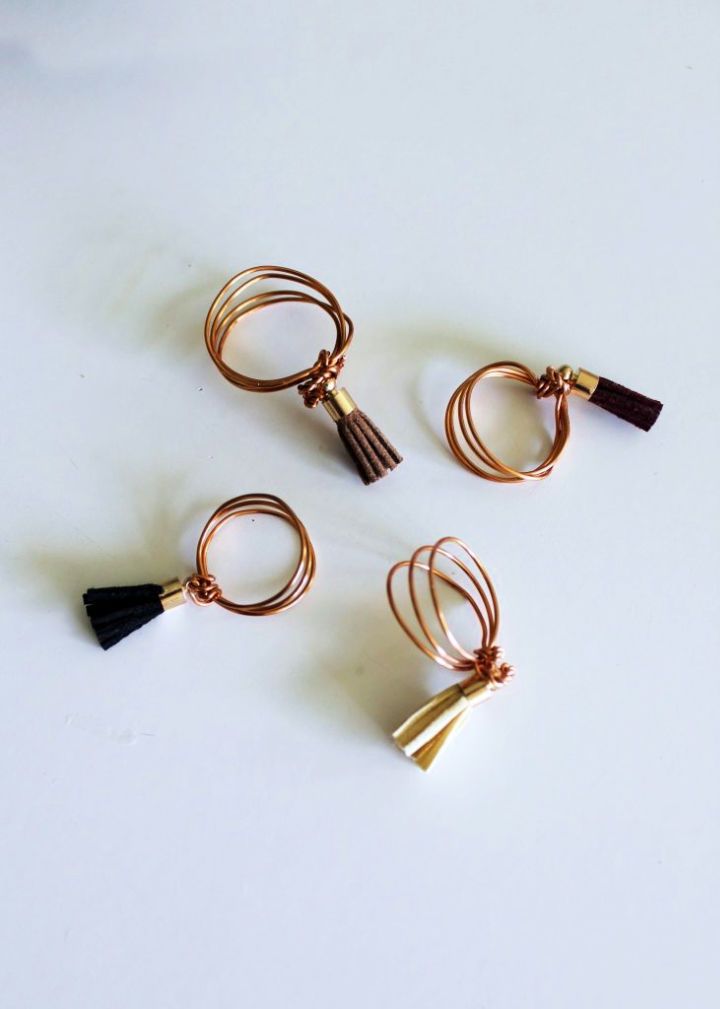
Bring a unique flair to your look with this one-of-a-kind wire ring with leather tassels! Perfect for the absolute beginner, you can make several rings in different sizes and wear them together for an effortless layered look.
All you need is a ring sizer mandrel, jewelry pliers, leather tassel charms, and 22 gauge brass jewelry wire. Making these stylish rings couldn’t be easier – follow the step-by-step instructions, and soon you’ll have your homemade design ready to show off! Give some of your creations as gifts, or add them to your accessories for that perfect finishing touch. So why wait? Make yourself a stunning wire ring today! creativefashion
10. DIY Wire Wrapped Ring Design
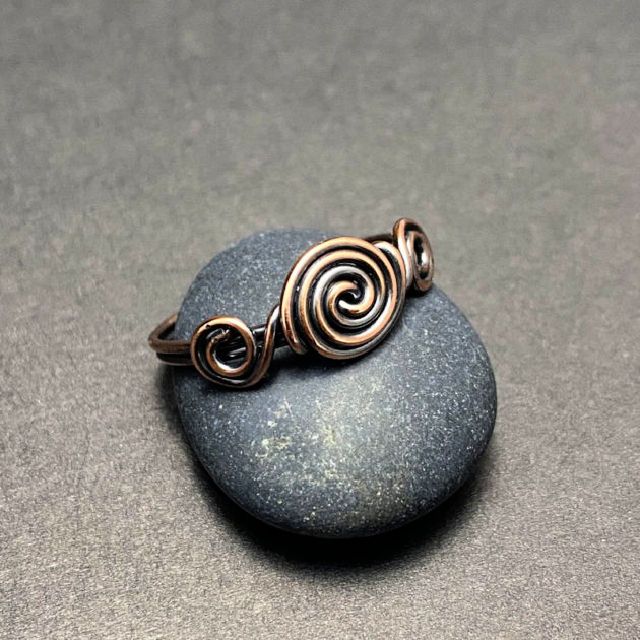
Craft beautiful wire rings with this easy DIY tutorial! Perfect for beginners to learn the basics of wire wrapping, you can make these rosette designs from copper wire in no time. They make great gifts for any jewelry lover and are incredibly fun to wear! All you need is 12-14″ of 20 gauge copper wire, a ring mandrel, a rubber mallet, and a liver of sulfur. Follow the steps, and soon enough, you will have crafted stylish rings that everyone will admire! Get started now on making your unique wire ring design. studio73designsn
11. Beautiful Copper Wire Rings
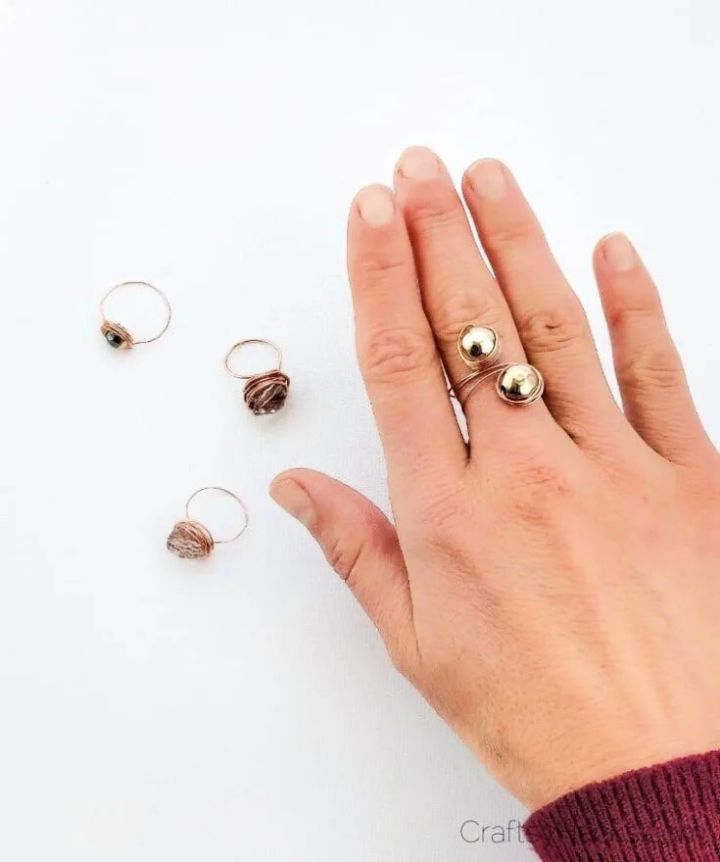
Love to craft? Make your unique jewelry with DIY copper wire rings! It’s a great activity for adults and requires only a few materials: 6mm copper wire (22 gauge), long-nose pliers, plus your favorite beads or markers. Make beautiful pieces of jewelry on a low budget that no one else has – perfect for special occasions or everyday wear. Experience the satisfaction of making something by hand with this easy-to-make craft! Get creative and make something truly one of a kind today. craftsyhacks
12. How to Make a Zig Zag Wire Wrapped Ring
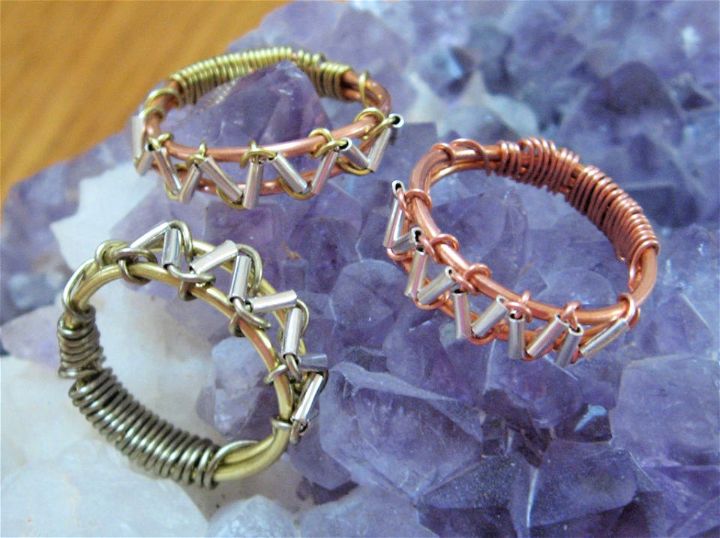
This zig-zag wire wrapped ring is perfect for jewelry lovers with a fashionable eye. It’s crafted from 18 gauge wire for the ring base and 24-26 gauge wire for wrapping and attaching the silver tube beads – you can even choose different colored wires to make a multi-toned effect! This unique design will add effortless style to any outfit, making it an ideal accessory choice! Get yours today and show off your trendsetting flair. instructables
13. Quick and Easy DIY Wire Wrapped Ring
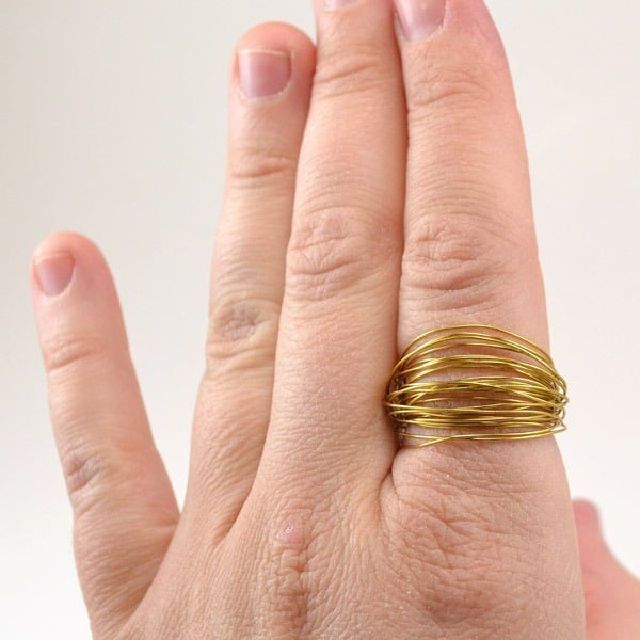
Make your unique rings with this easy DIY guide! Learn how to wire wrap jewelry for a personalized style. You only need some jewelry wire, a ring mandrel (or other cylindrical item), and simple instructions. You can craft beautiful pieces perfect for special occasions or everyday wear with minimal effort and time. Make stunning rings for yourself or as gifts; get creative and have fun! dreamalittlebig
14. Making Adjustable Wire Wrapped Ring
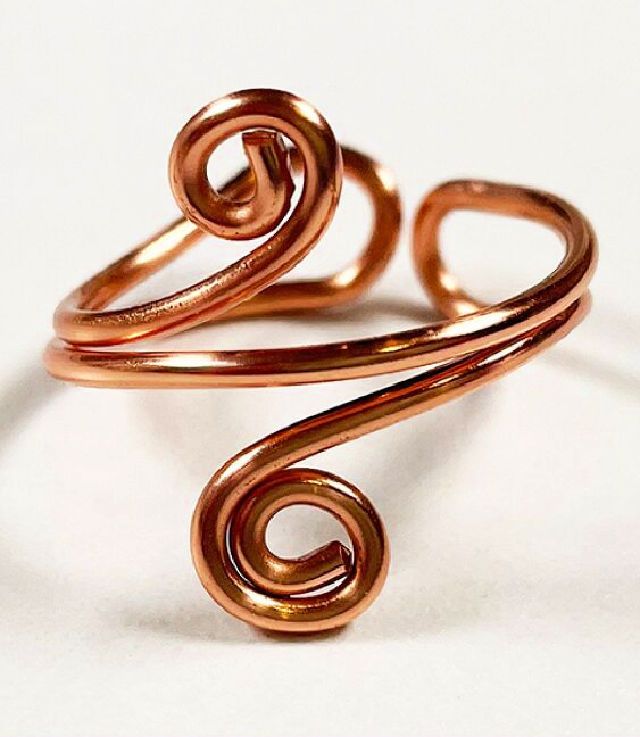
Here is this DIY adjustable wire ring that is the perfect accessory to show off your style! Crafted with 16 gauge copper German-style wire and measuring 25-30 cm, this ring looks great on everyone. It’s adjustable, so there’s never a worry about fitting it perfectly – plus, it makes for an ideal gift if you don’t know someone’s finger size. Show off your creative side with this unique ring today! upstyledaily
15. Simple Wire Wrapped Rings With Beads
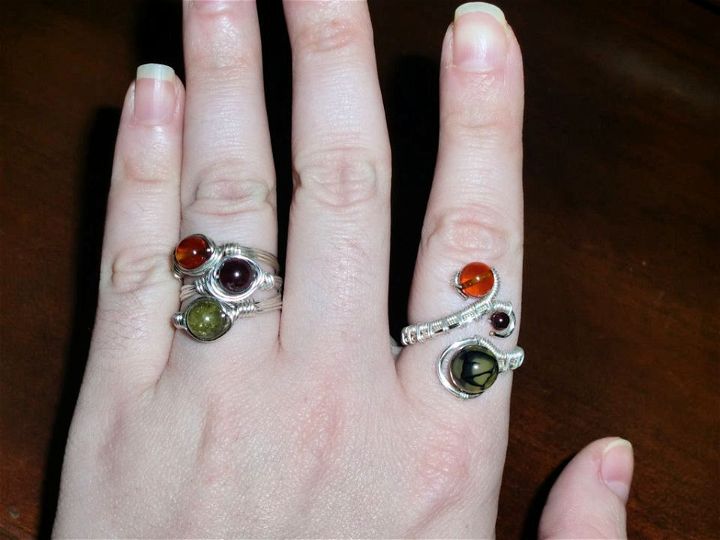
Make a statement with your personalized jewelry! Learn how to make a simple wire wrapped ring and practice basic wire-wrapping techniques. It’s an easy way to customize accessories for yourself or as a thoughtful gift for someone special. All you need is one ~21″ piece of 22g (or 20g) wire, one 6-8mm bead, a plastic or metal ring mandrel, and a cup burr – then you’re ready to get creative and form the perfect round band. With these materials and some practice, you’ll quickly make unique wire wrapped rings! instructables
16. How to Make a Wire Wrapped Ring
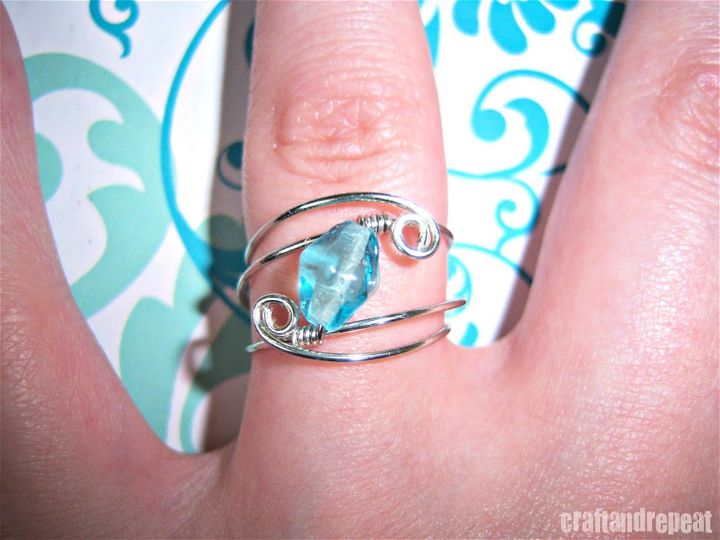
Let your love sparkle brighter than ever before with a one-of-a-kind crafted ring! All you need are basic wire wrapping supplies, a set of jewelry pliers, 2 sizes of round craft wire (24 & 20 gauge), and 1 or more beads with at least a 24-gauge opening. You can make this fun little ring quickly with just a bit of patience. Try this free tutorial today for the perfect statement piece to add to your jewelry collection! craftandrepeat
17. DIY Wire Wrapped Woven Ring Tutorial
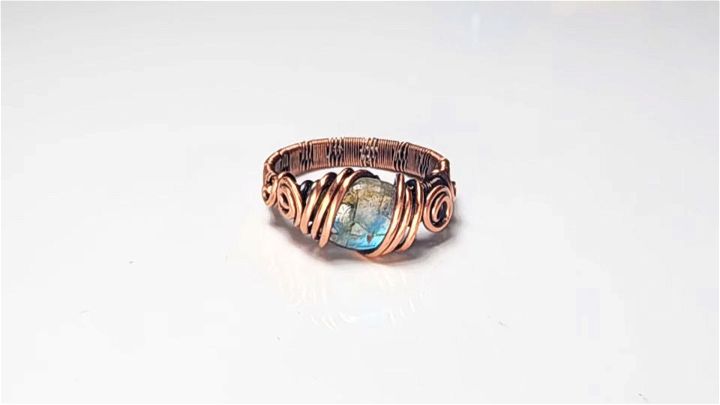
Learn how to make a custom woven ring with this DIY jewelry tutorial! This intermediate design features an oval cabochon set in a unique wire-wrapping frame. You only need 20-round gauge dead soft copper wire (3 pieces, 7 inches each), 30mm round copper weaving wire (off the spool), 10mm oval-shaped cabochon, and a ring mandrel. With these supplies and patience, you can learn to craft custom jewelry that will last for years. Make it yours today with this easy tutorial!
18. How to Wire Wrap a Ring
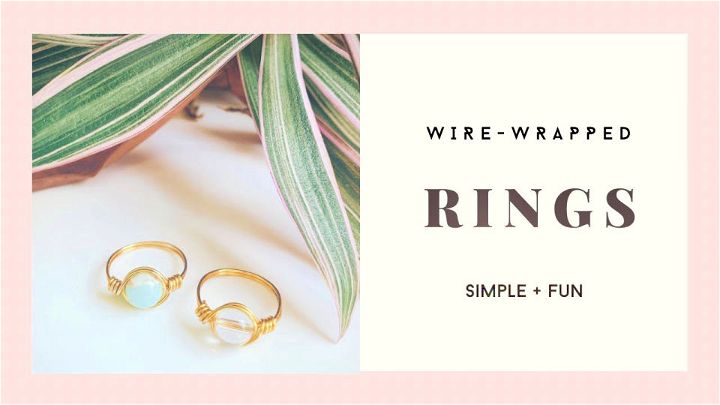
Unleash your inner jeweler and discover the simple steps to craft a beautiful wire wrapped ring! All you need is 20 gauge craft wire (or dead soft wire), a ruler, ring mandrel or stick, chain nose pliers, flush or wire cutters, and some beads of your choice. This tutorial makes it easy to make gorgeous rings without any prior knowledge. Follow along as this tutorial guide you through the steps for making unique rings with eye-catching design!
19. Simple Wire Wrapped Ring for Beginners
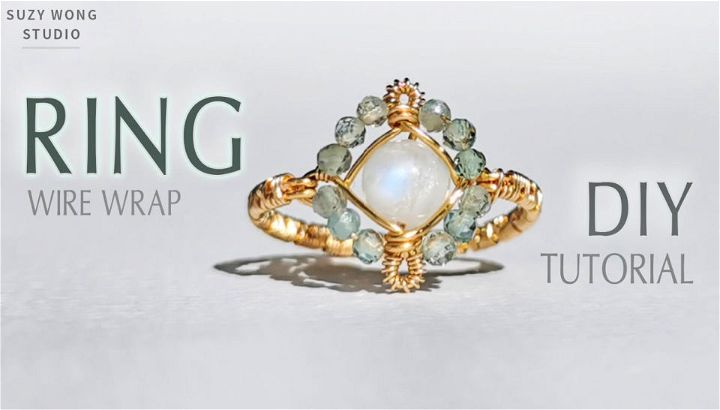
Design your unique statement jewelry with this simple wire wrapped ring for beginners. Crafted from durable copper wire, it’s ideal for those just starting in jewelry making. You need 2 pieces of 0.6mm gauge 22 wire (12 cm and 7 cm each), 1 piece of 0.3mm gauge 28 wire (80 cm), 8 mm moonstone beads, and 2 mm apatite beads to complete your masterpiece! With these materials, you can make a personalized ring that will be sure to turn heads wherever you go! Let your creative juices flow and start crafting today – perfect for beginner jewelry makers looking for an easy project!
20. How to Make Ring Out of Wire
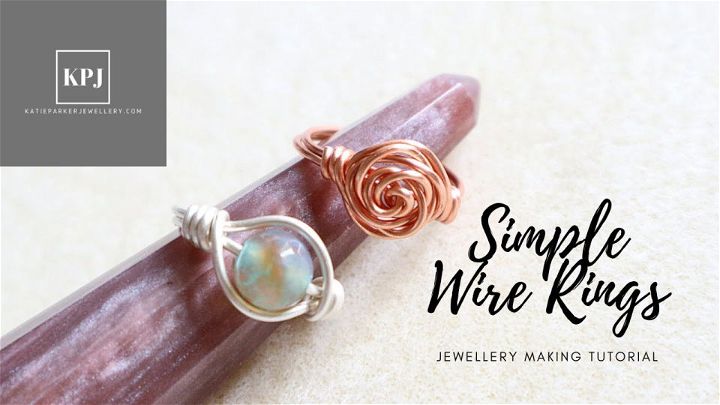
With this easy tutorial, discover how to make beautiful and unique rings from wire! This DIY shows you two styles: classic rose and simple single-bead rings. All you need is some wire, an 8mm bead, and a few tools. The length of the first ring should be 25cm, while the second should have 30-35 cm of wire. With these tips, you will have no trouble making these eye-catching accessories quickly!
21. DIY Wire Wrapped Rhombus Ring
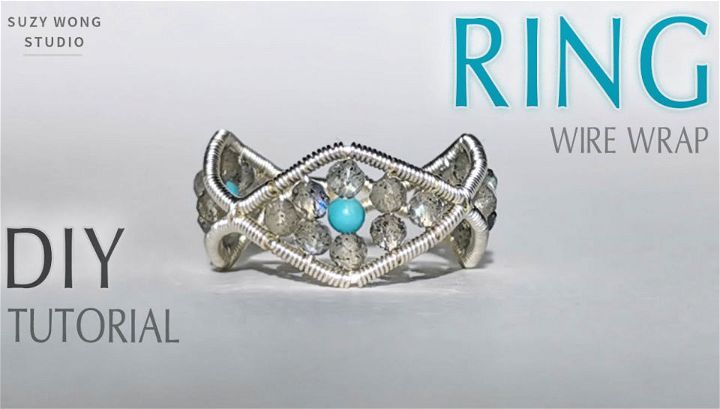
Be the envy of your friends with this chic and contemporary wire wrapped rhombus ring! All you need is some copper wire in two gauges, 22 or 0.6mm (16-18 cm) and 28 or 0.3mm (120-150 cm), 2 mm labradorite and turquoise beads for decoration, and some basic crafting tools like pliers to begin wrapping your personalized ring. Perfect as a gift for yourself or as an original present for someone special, this handmade jewelry project is easy to complete but looks amazing – everyone will be asking where you got it!
22. Make a Wire Wrapped Seamless Ring
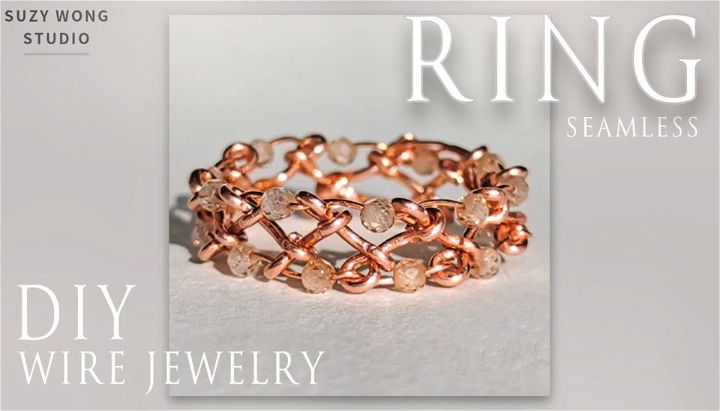
Make your unique ring with this tutorial for making a wire wrapped seamless ring! With only 2 materials – 0.8mm / 1.3cm×20~26 pieces of copper wire and 2mm zircon beads – you can make stunning jewelry right at home. All it takes is skillful wrapping to craft the perfect ring that’s comfortable to wear all day. Follow the step-by-step instructions, and you’ll soon have a beautiful wire wrapped seamless ring made with gauge 20 or 0.4mm/ 25-30cm copper wire – perfect for any occasion! Combine style and creativity when you make your one-of-a-kind custom jewelry today – start crafting now with this guide on making a wire wrapped seamless ring!
23. Full-Length Wire Wrapped Ring With Undrilled Stone
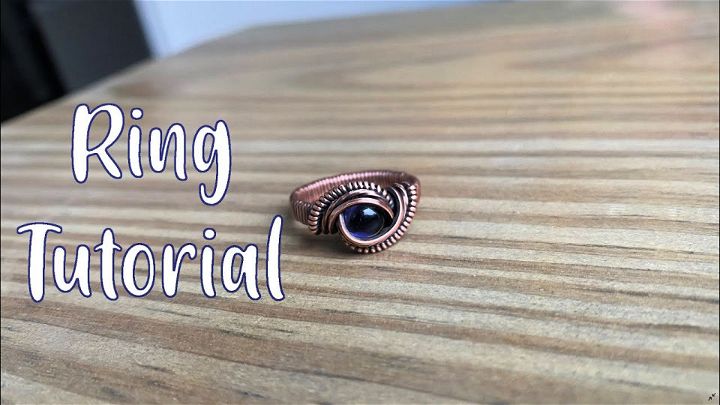
This full-length wire wrapped ring tutorial will teach you how to craft a stunning and unique handmade jewelry piece. Using three 9.5-inch pieces of 20 gauge square copper wire, one 24-inch piece of 21 gauge half round copper wire, and one 6mm cabochon stone – this tutorial makes it easy for beginners to make their beautiful design. Make sure to have the necessary supplies ready before starting so that you can easily follow along with step-by-step instructions. Once completed, your DIY ring will be an impressive accessory everyone will love!
24. Handmade Wire Wrapped Stackable Rings
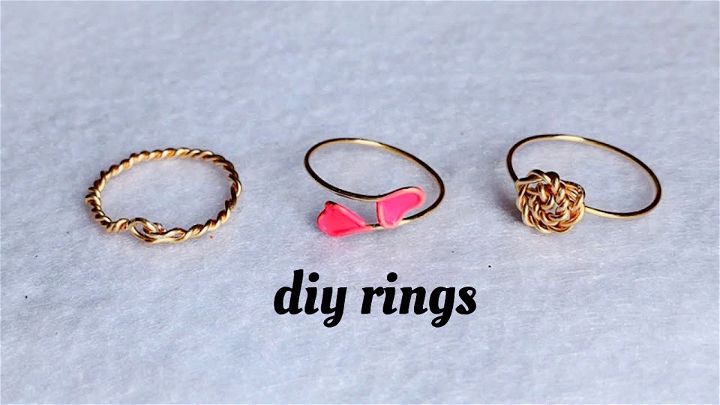
Beautifully crafted handmade wire wrapped stackable rings made with 20 gauge wire and the best tools. The perfect addition to your jewelry collection! These stackable rings are expertly created with a round nose plier, wire cutter, plastic ring mandrel, flat nose plier, and nail polish for a unique look that will make you stand out. With its versatility and modern design, these 2 handmade wire wrapped stackable rings will add a special touch to any outfit.
25. Make a Wire Wrapped Bezel Ring
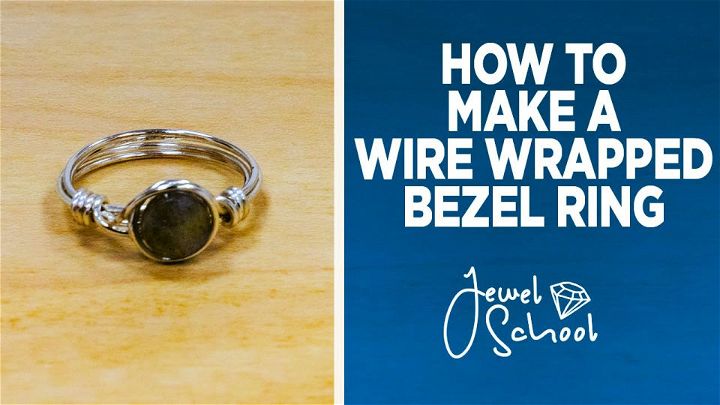
Make a unique and stylish wire wrapped bezel ring with gemstones using an acculoop plier set, labradorite 6mm beads, 20 gauge wire, and 24 gauge wire. This step-by-step tutorial will show you how to craft a beautiful piece of jewelry that is simple enough for beginners yet complex enough to impress the most experienced jewelers. Learn how to measure your finger size correctly on the ring mandrel to ensure your handmade ring fits perfectly every time! With this guide, anyone can make a stunning and one-of-a-kind piece quickly and easily.
26. Adjustable Wire Wrap Ring Pattern
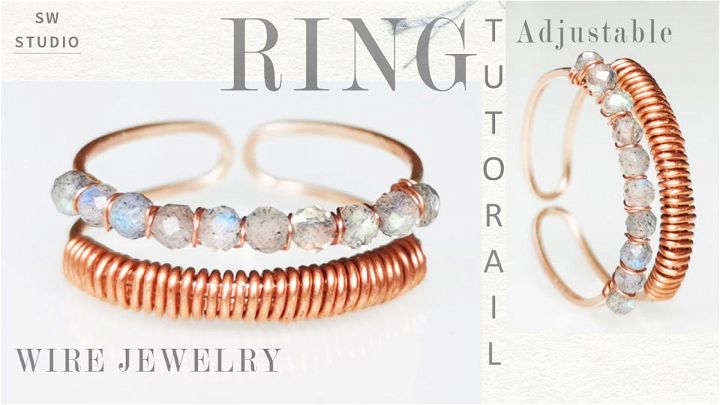
Here is this adjustable wire wrap ring pattern that is perfect for those who want to add a unique flair to their jewelry designs. Made with copper wires of gauges 20-18 (0.8mm or 1mm/16-20cm), 22 (0.6mm/30cm), and 28 (0.3mm/30cm) and 2mm labradorite beads, this pattern provides an easy tutorial on how to make a beautiful wire wrap ring in no time at all. Whether you’re an experienced jeweler or new to the craft, this pattern is simple and enjoyable! Plus, the adjustable size allows anyone to make it – so now everyone can have a personalized piece of jewelry made themselves!
27. Creative Wire Wrapped Ring
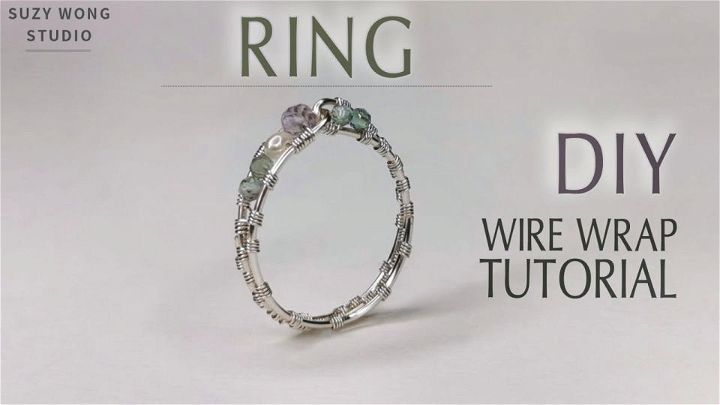
Express yourself and show the world your unique style with this adjustable wire wrap ring pattern! Crafted from high-quality copper wire, this unique ring perfectly combines elegance and modern style. With two different gauges – 0.8mm/15-16cm and 0.3mm/65-85cm, you can achieve an intricate pattern that stands out like no other. To complete the look, add your favorite accent beads, such as amethyst or pearl, for a touch of sophistication. This adjustable wire wrap ring is great for making stylish jewelry pieces that turn heads everywhere you go!
28. Wire Wrapped Rose Ring for Valentine’s Day
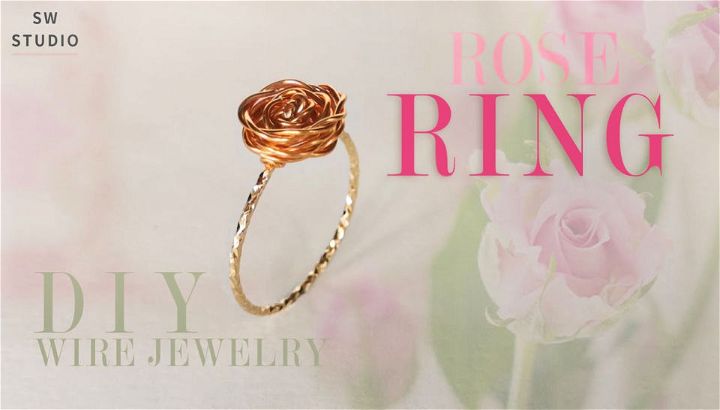
Love is in the air! Show your special someone how much they mean to you on Valentine’s Day with a beautiful wire wrapped rose ring. Crafted from delicate copper wire, this intricately designed jewelry piece is a romantic and unforgettable gift. The unique design comes with two gauges of wire: 18 or 1mm (full hard, half hard, or engraved twist wire) and 22 or 0.6mm/ 30-35 cm – perfect for capturing the beauty of every bloom. With its perfect combination of texture and sparkle, your loved one will cherish this timeless present for years to come!
29. Make a Wire Wrapped Ring
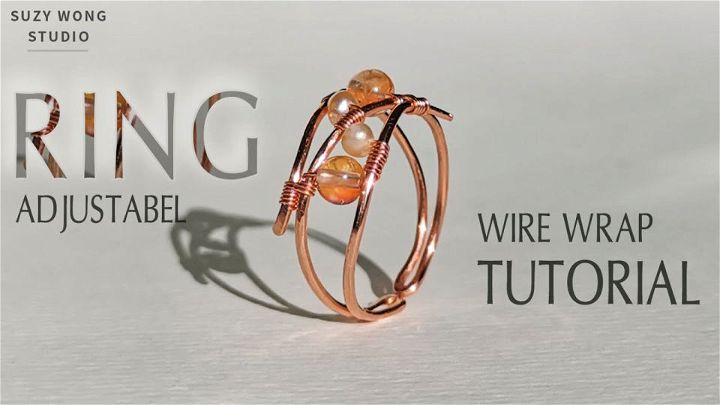
Craft a stunning wire wrapped ring with minimal materials! This DIY project is perfect for all skill levels and doesn’t take too much time. You’ll need copper wire in gauge 18 (1mm) or 15-18 cm and gauge 28 (0.3mm) 30cm, as well as 4 mm crystal beads and 3 mm pearl beads. Start by making the ring base out of the thicker gauge copper wire, then use the thinner gauge to wrap around it until you’re satisfied with your design. Lastly, add your chosen beads to make a unique look that will turn heads! Get creative with this fun jewelry-making activity – make a wire wrapped ring today!
30. Simple and Easy DIY Wire Wrapped Ring
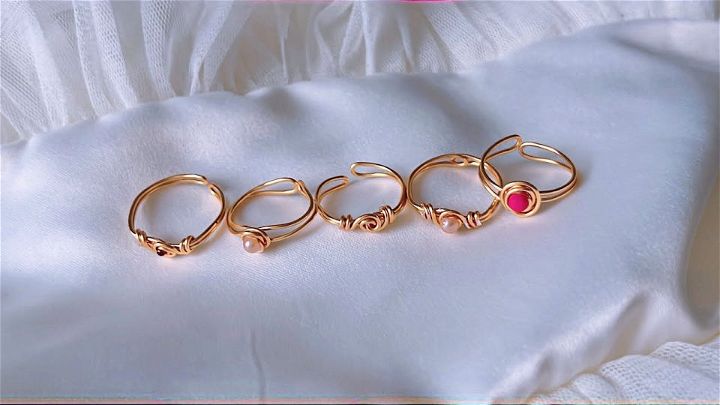
Unlock your inner designer and craft a unique handmade ring with this simple wire-wrapping tutorial! Perfect for beginners, this guide will help you make a customized piece of jewelry that can be worn or given as a gift on any occasion. With the right tools and guidance, you’ll have your stunning wrapped ring in no time. Don’t miss out on making something beautiful with your hands – start crafting now with step-by-step instructions!
Related DIY Jewelry Making Ideas
If you love jewelry, you’ll love these DIY jewelry making ideas. Learn how to make earrings, bracelets, rings, and more with these easy tutorials.
- Paracord Bracelets: Stand out with these surprising paracord bracelet patterns, creating durable and stylish accessories that suit any occasion.
- Tassel Earrings: Elevate your outfit with these simple DIY tassel earring ideas, making fashion-forward accessories accessible to everyone.
- Friendship Bracelets: Discover a collection of friendship bracelet patterns suitable for everyone.
- DIY Bracelets: Explore a world of incredible DIY bracelet ideas, transforming everyday items into your new favorite accessories.
- DIY Necklace Ideas: Unleash your creativity with our comprehensive guide on how to make necklaces, featuring unique DIY necklace ideas.
- DIY Earrings: Dive into the world of jewelry-making with these beautiful DIY earring ideas, perfect for crafting in the comfort of your own home.
- Chevron Friendship Bracelet: Learn how to make a dreamy chevron friendship bracelet with our free pattern, adding a personal touch to your friendships.
- Polymer Clay Earrings: Express your style and individuality with these awe-inspiring DIY polymer clay earring ideas, perfect for beginners and experts alike.
- Bead Bracelet Patterns: Discover a collection of lovely bead bracelet patterns that will inspire your creativity and add a touch of style to your accessories.
Conclusion:
Wire wrapping is a fun and easy way to make your own beautiful and unique rings. You can use any type of wire, beads, stones, and tools you like, and create any design you can imagine. In this post, we have shown 30 easy DIY wire wrapped rings with simple and elegant designs. We have also given you some tips and tricks to improve your wire wrapping skills, and some steps to showcase and sell your wire wrapped rings online. We hope you have enjoyed this post and learned something new. Now it’s time to grab your wire and tools and start making your own wire wrapped rings! Happy wrapping!

