If I would have known how much better having a makeup vanity makes my mornings, I would have gotten one years ago.
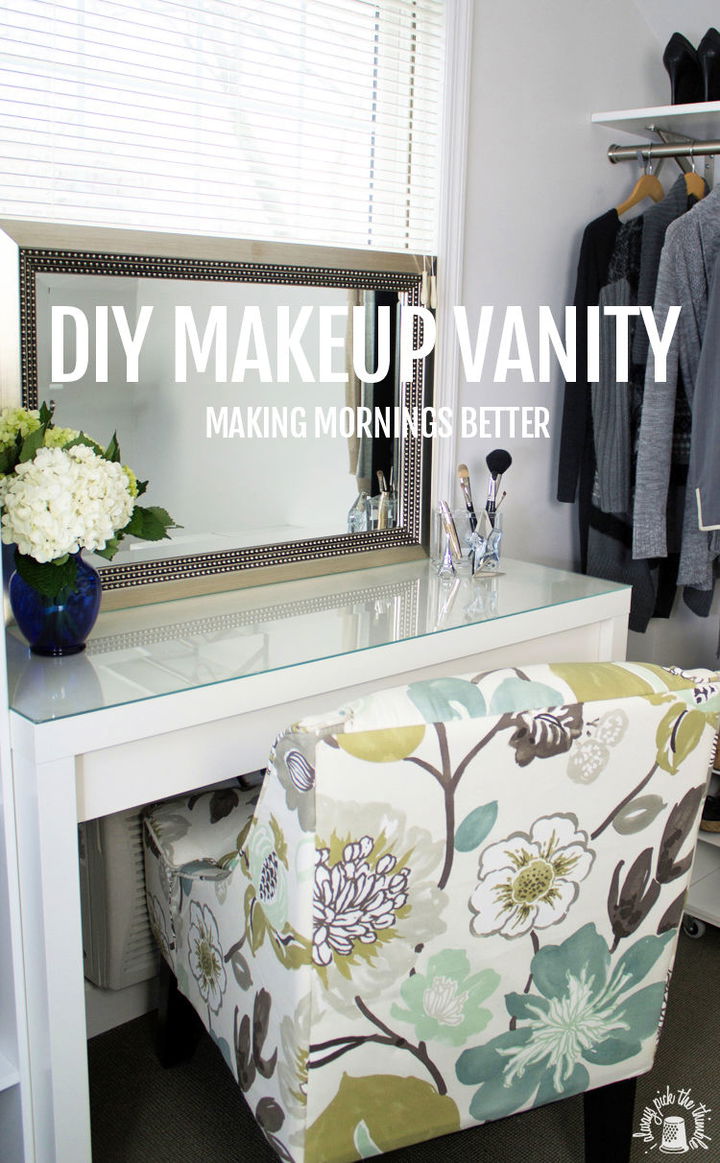
My husband and I recently remodeled the upstairs bedroom of our circa 1930’s house. If you are familiar with older houses they hold lots of charm, but sometimes lots of headaches too. Our upstairs was a converted attic space with a funky ceilings and a little used sitting area. After deciding a closet held more value to us than an unused sitting area, we converted the space into a walk-in closet. And can I just say that I am astounded at how much this home improvement has improved my mornings. Getting ready is faster, easier, more pleasant than ever and all of it helps set a positive tone for the rest of the day.
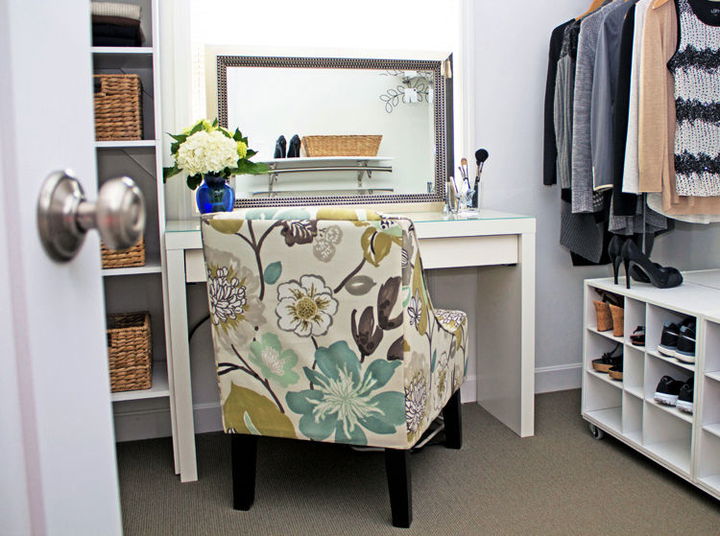
My 3 Favorite Things About Having a Makeup Vanity
1. Finally Getting Organized
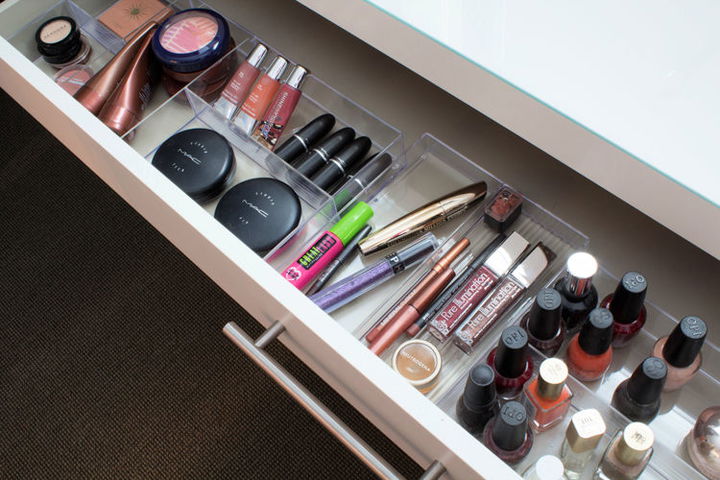
It’s the little things that count. Like being able to see and store all of your makeup in one drawer. And did you see the bottles of polish on the right? They stand up! There’s even room to squeeze in more stuff…but I’m on a purge and simplify kick, so I’m trying not to.
The cosmetic organizers are from Bed, Bath and Beyond. ( I couldn’t find a link for them on the website, but I think they are still available in store.) Two of them fit across the front of the drawer, and I added plastic stick-on feet on the bottom so the organizers don’t slide around when opening the drawer.
2. Sitting While Doing Hair + Makeup
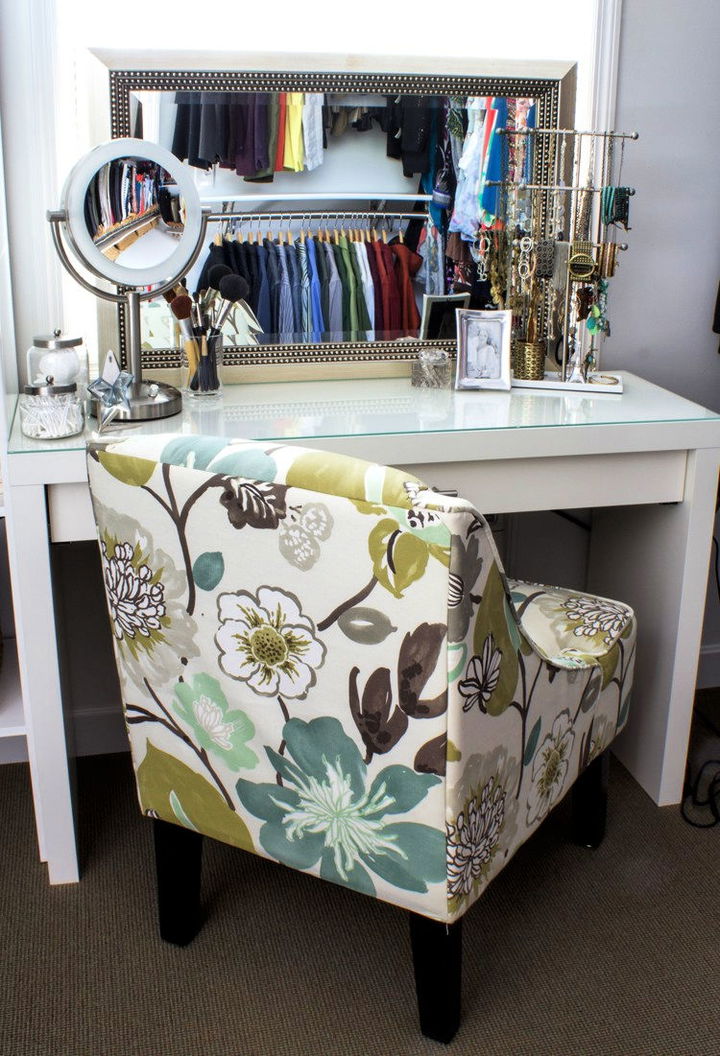
No more standing at the mirror, leaning in to put on mascara.
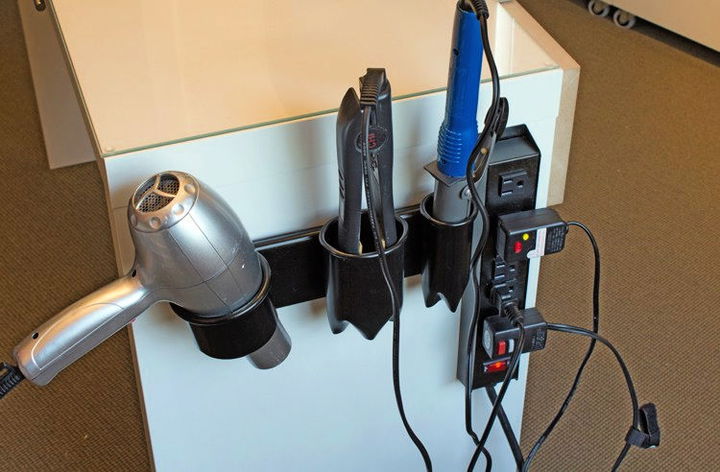
No more curling irons/flat irons/hair dryers all over the bathroom counter. (Wait until you see the hair tool caddy my husband installed for me. It’s just dreamy.)
The comfy chair above is the Hudson Swoop chair from Target. It doesn’t have side arms so sliding into it without moving the chair is really easy. It comes un-assembled and took about 45 minutes to put together.
3. It Really Does Make Mornings Better
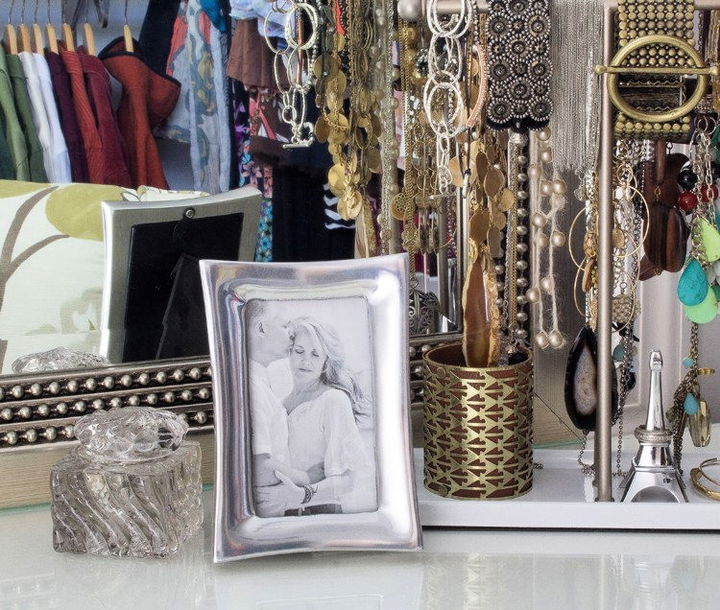
The glass box with a lid is actually an antique inkwell from the late 1890’s that was my Great-Grandmothers. I use it to hold my rings. It feels like such a luxury to have a little extra space to personalize my vanity with meaningful items.
The jewelry stand on the right is another little luxury that I wished I had invested in sooner. This is the Umbra Trigem 3-Tier jewelry stand designed by Alan Wisniewski, which is from Bed Bath and Beyond. No more tangled chains and I can now actually see my jewelry. I found necklaces, earrings and all sorts of stuff in the bottom of my jewelry box I’d forgotten I’d had.
Getting Down to The DIY
Assembling + Modifying the Ikea Malm Dressing Table
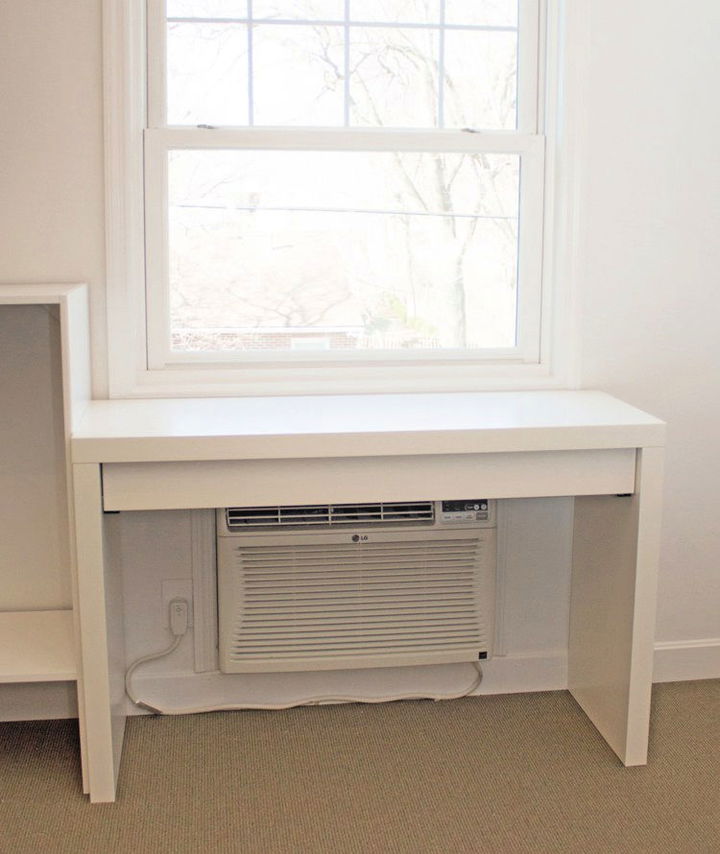
The Ikea Malm dressing table went together easily. Here it is before we added the glass top (which is included), the drawer pull and the mirror.
1. Brace the Back for The Mirror
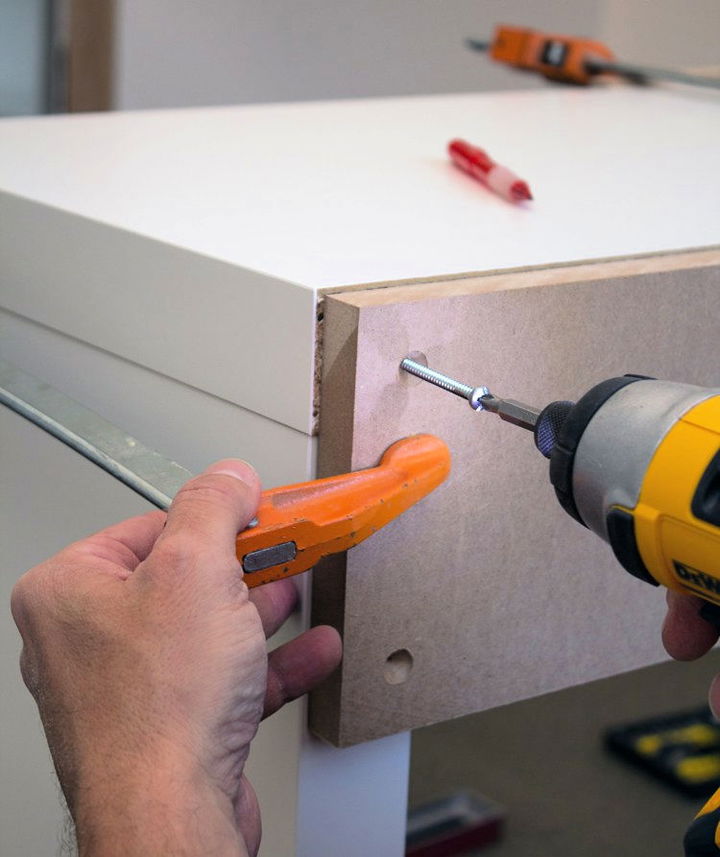
For this first step, we installed a board across the back of the vanity for extra support for the mirror.
Now, when I say “we”, I really mean “my husband.” I’m quite capable of doing it myself, but someone had to take these pictures, right?
2. Add an L-Bracket to support the Mirror
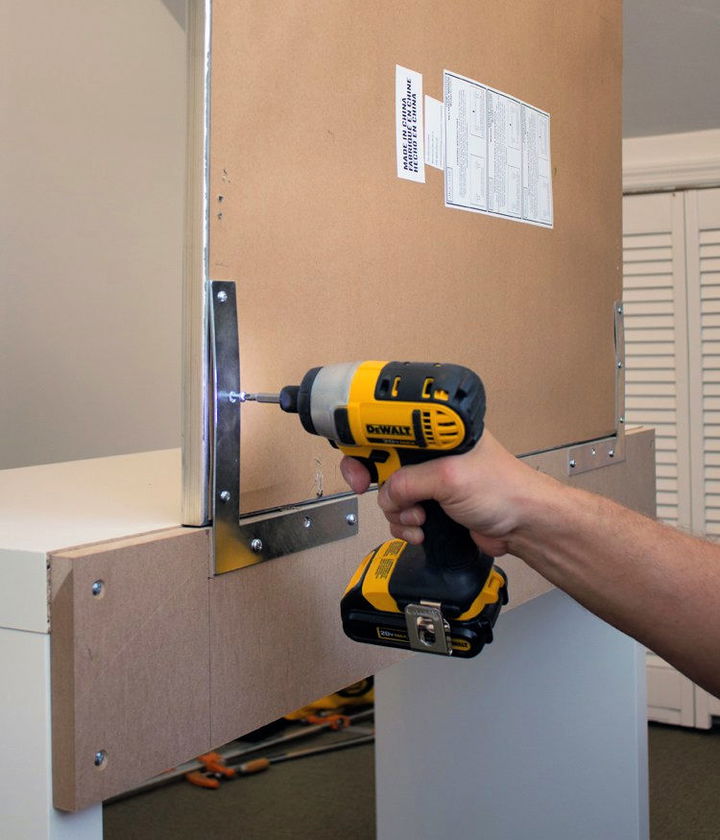
Next, we installed 2 L brackets on each side to support the mirror vertically.
My initial thought was to find a really cute vintage mirror. But we couldn’t figure out how to hang it in front of the window, and antique mirrors are heavy. This was one of the times when a new inexpensive and light-weight item was in our favor. We purchased this beveled mirror from Lowe’s and were really happy with it.
Now the mirror and vanity work as one unit, which is easy to pull out if we need to get to the window.
3. Install a Drawer Pull
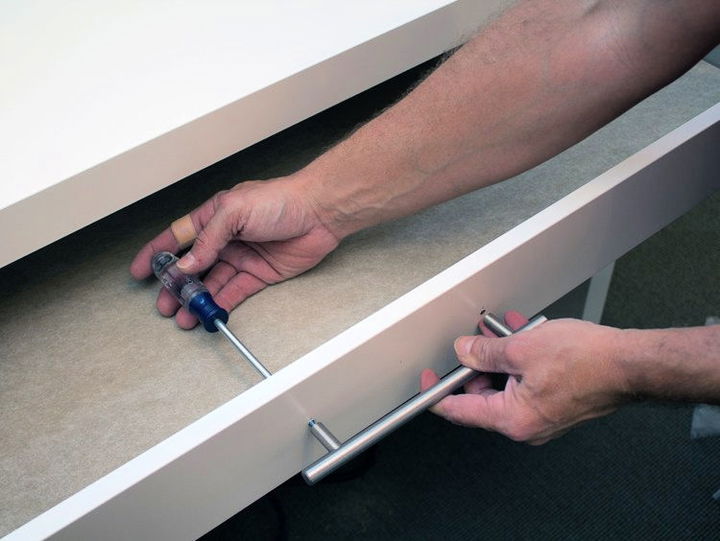
The drawer is the entire width of the vanity, which is great for storage. But because of the width, it’s a little bit wobbly side to side if you don’t pull it open directly from the middle. So we added a drawer pull to stop the wobble. I think the handle dresses the makeup vanity up and adds a little personality.
Finished!

But wait – what about these cords?
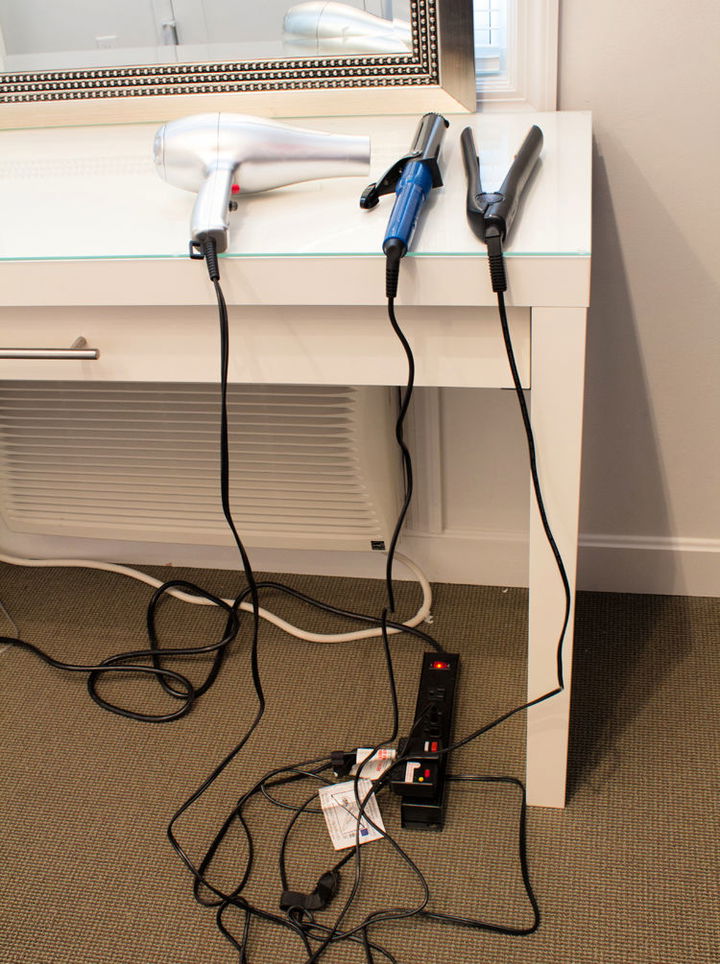
1. Which Hair Appliance Caddy to pick?
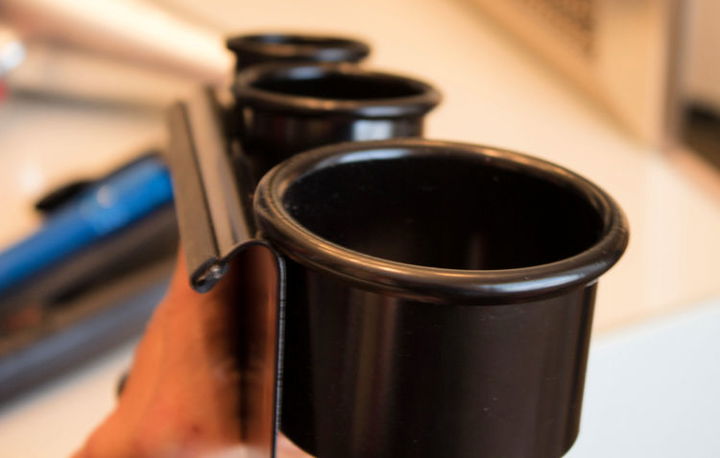
I did a lot of research online regarding hair caddies and if you want to store irons while they are still warm, you needed to purchase a metal one. I read too many reviews about plastic caddies that had melted after one use. The caddy I finally settled on was this Hair Iron and Blower Appliance Holder. It has a large angled storage slot for a hair dryer and 2 additional areas for a flat iron and 1 ½″ barrel curling iron.
The only drawback, which I was aware of from the reviews on Amazon, was that this unit has a lip which does not allow it to attach flat to the vanity. From what the reviews said, this is a professional hair caddy that was designed to slide onto the side of a cart. To solve this issue, we cut a ¾″ thick piece of particle board the height and width of the caddy and painted it black.
2. Screw the Backboard and Caddy to The Make up Vanity
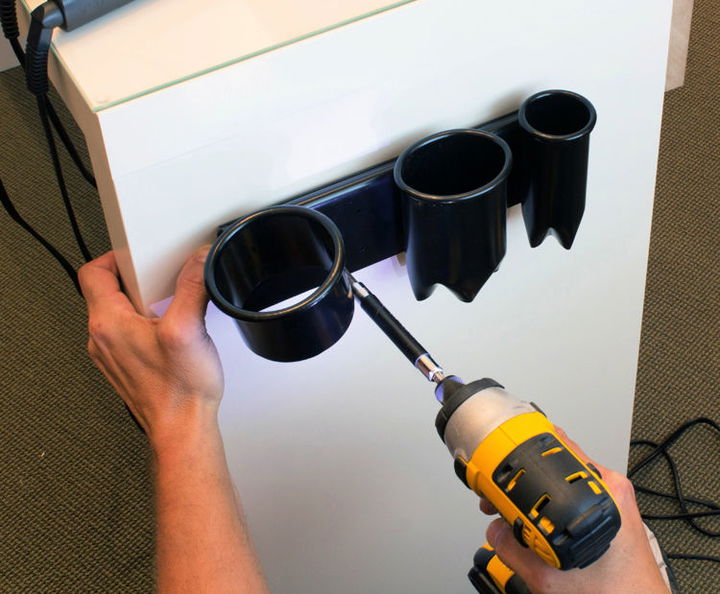
3. Screw on Plug Strip
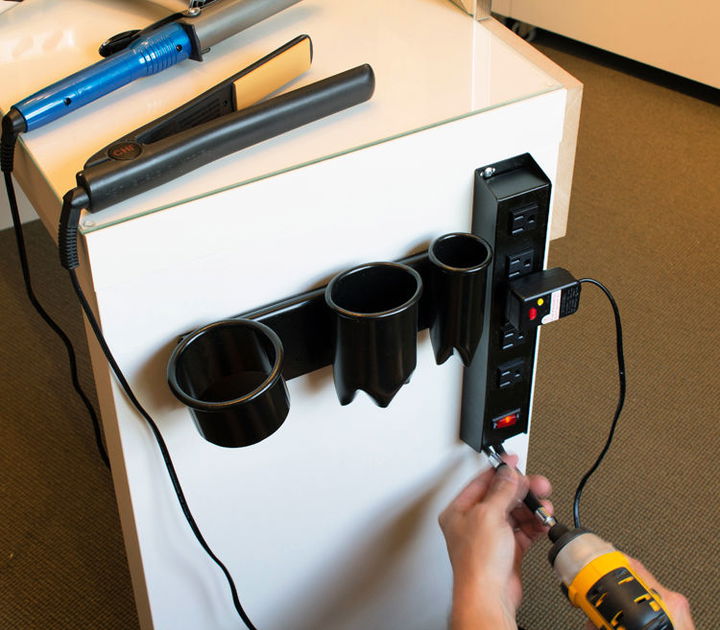
Getting power to the hair appliance caddy was the final step. We went the easy route and installed a plug mold along the back of the makeup vanity. We contemplated hiding the plug mold under the makeup vanity on the leg, but because the side of the vanity is hidden from view, so are the cords.
4. Finished
The Actual Closet
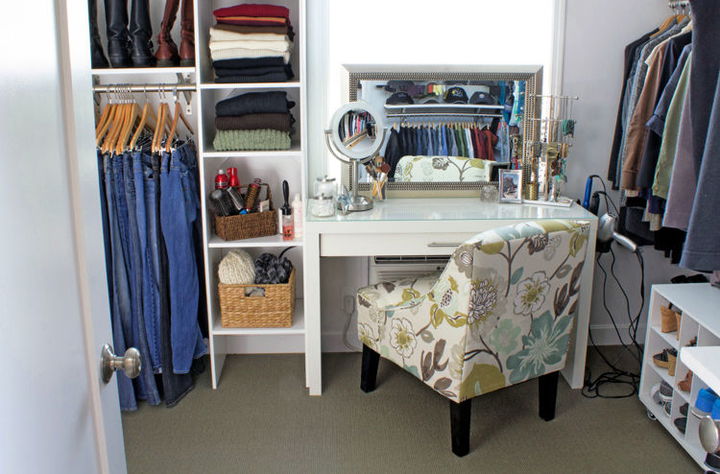
I was getting a some grief from my friends when I showed them the pictures at the start of this post. They were like, “Is that your closet?” “Are you really that much of a neat freak?”
The answer is no. Above is what my real closet looks like. Granted, it’s been straightened up for the picture but now that our closet is organized and pretty, it is much easier to keep neat. I actually hang my clothes up every day! And put my shoes away. Which I certainly didn’t before.
Hooray to happier and organized mornings!

